How to setup a VPN extension for Chrome?
Latest edited on 2024-01-24
In this guide, we will provide step-by-step instructions on how to set up X-VPN for Chrome. This guide will cover both the free and premium versions of X-VPN.
How to use free VPN on Chrome?
1. To use our free VPN app on Google Chrome, you can get it from X-VPN on the Chrome Store or redirect from the official VPN Chrome extension download page.
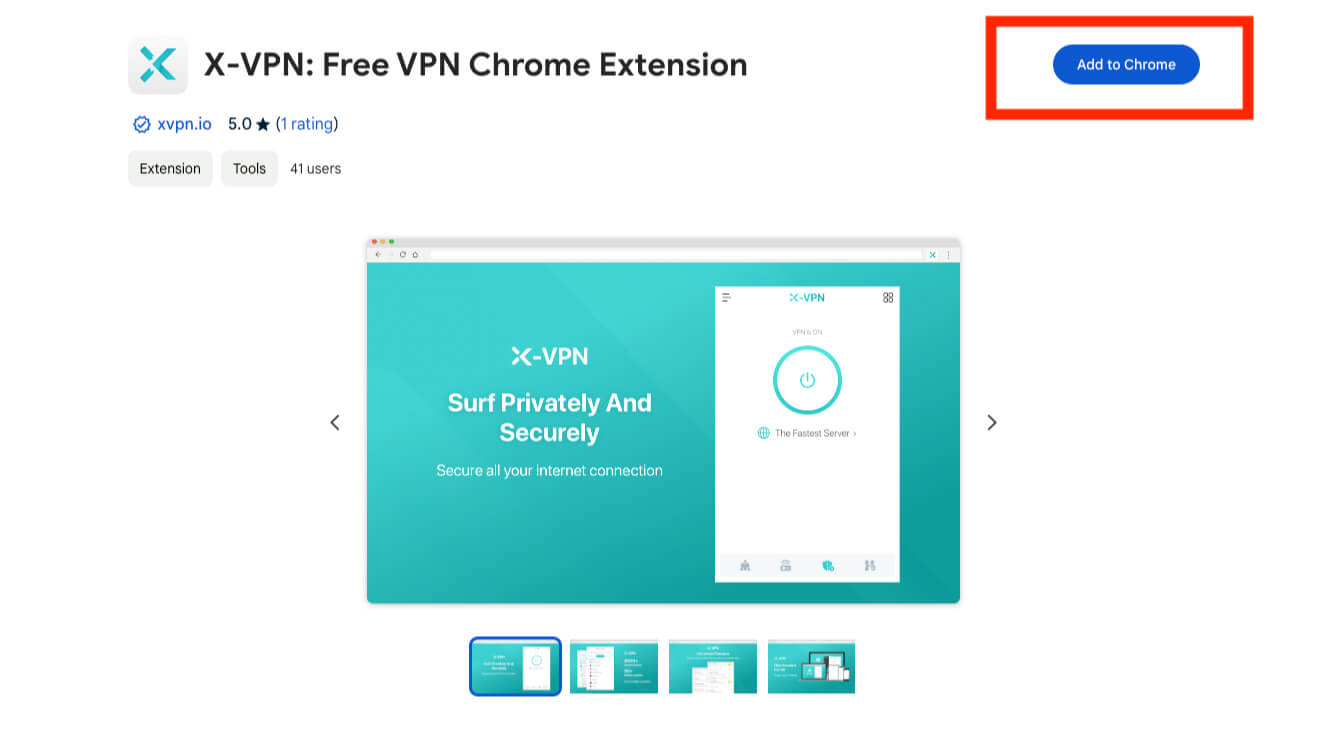
2. Click 'Add to Chrome' then 'Add extension'.
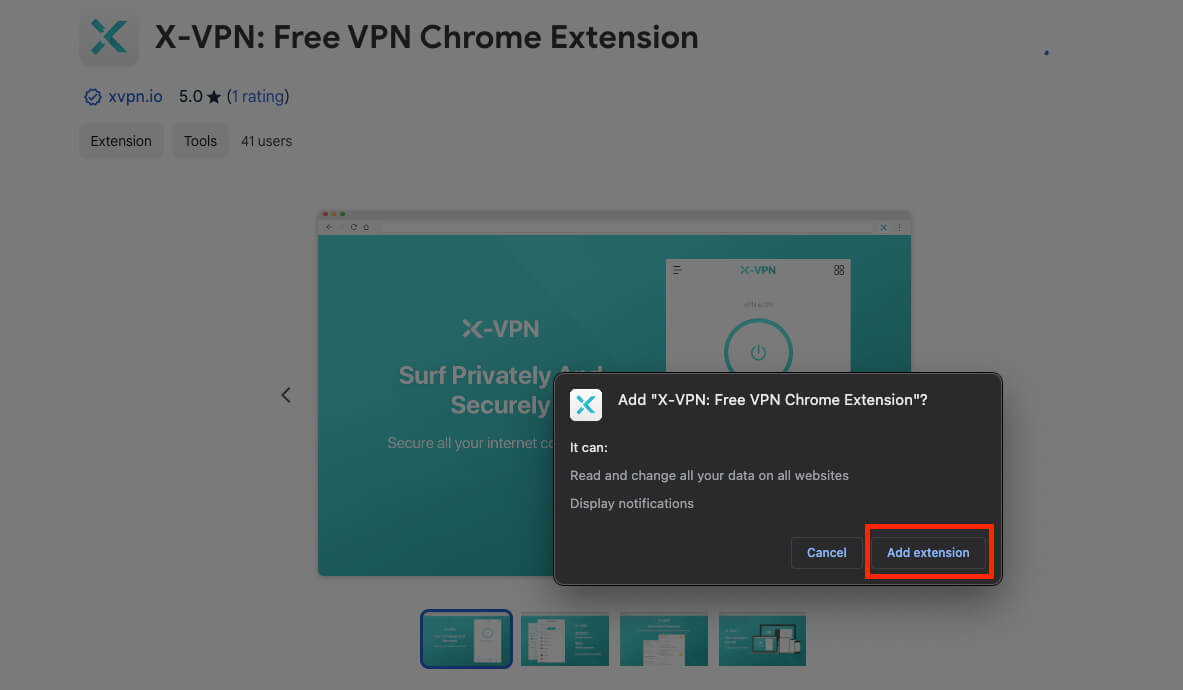
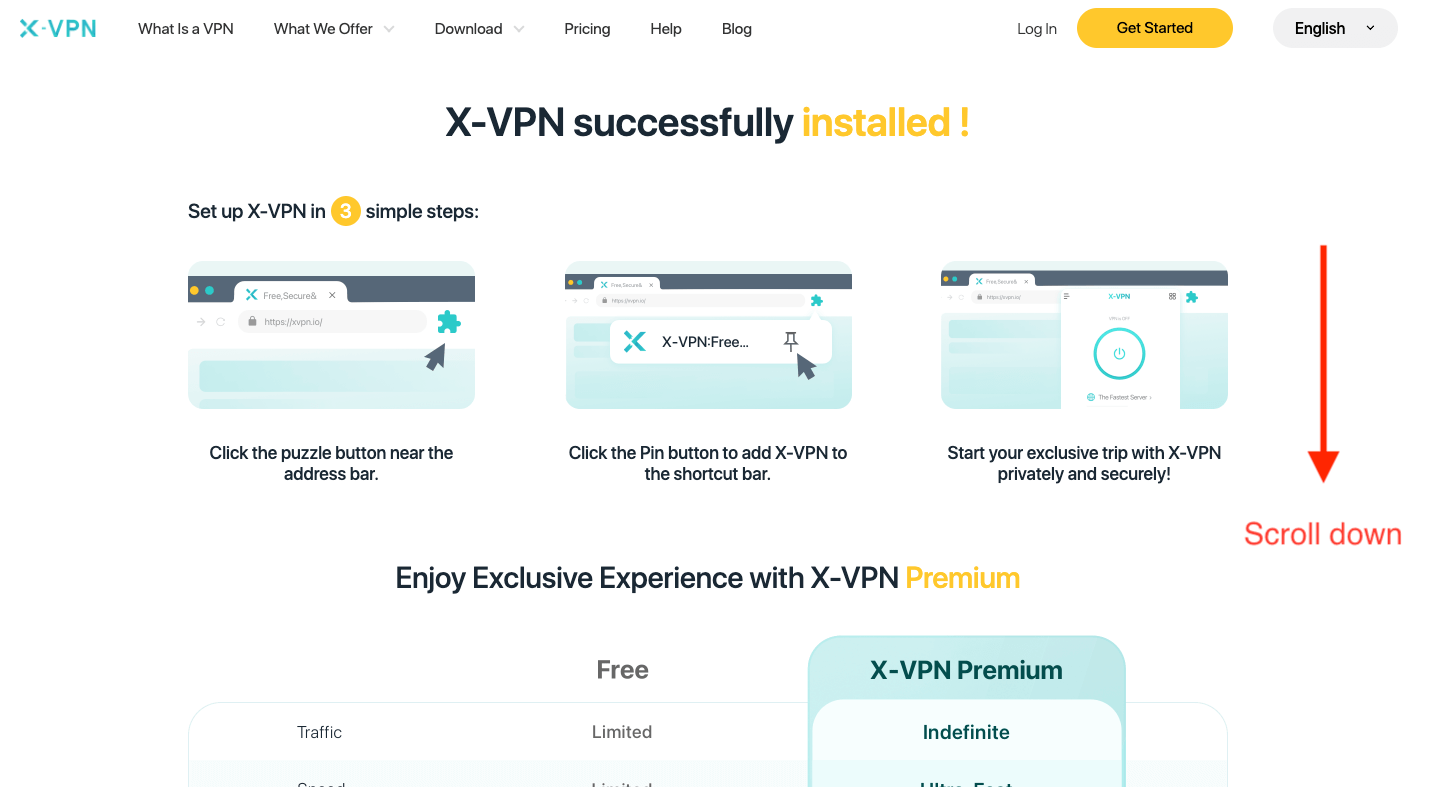
3. Wait a few seconds for it to install. A successful installation hint will show up.
4. Click on the extensions symbol in the top right corner of your browser, then pin X-VPN for easy access.
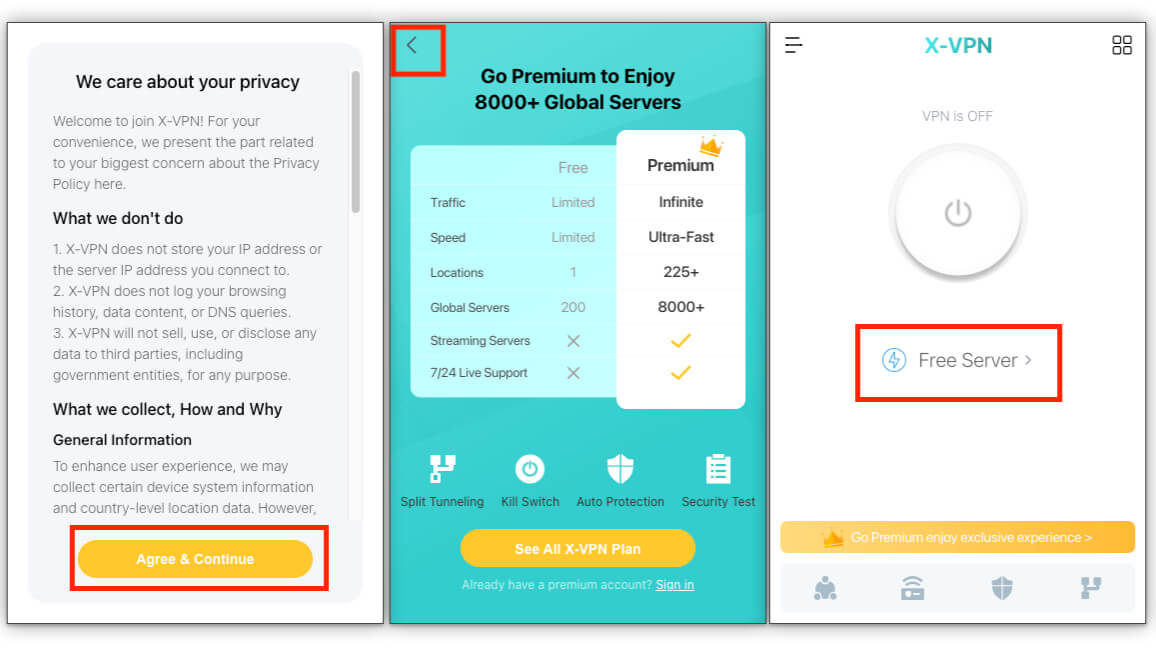
5. Open X-VPN by clicking on its icon and you'll be presented with our privacy policy. Please read it carefully and click 'Agree & Continue'.
6. A guide for premium subscription will be shown next; To use the free server, ignore this guide, click the return button on the top-left, and proceed without having to register or provide any payment details.
7. Click to connect and start enjoying unlimited speed and data usage on X-VPN's free service.
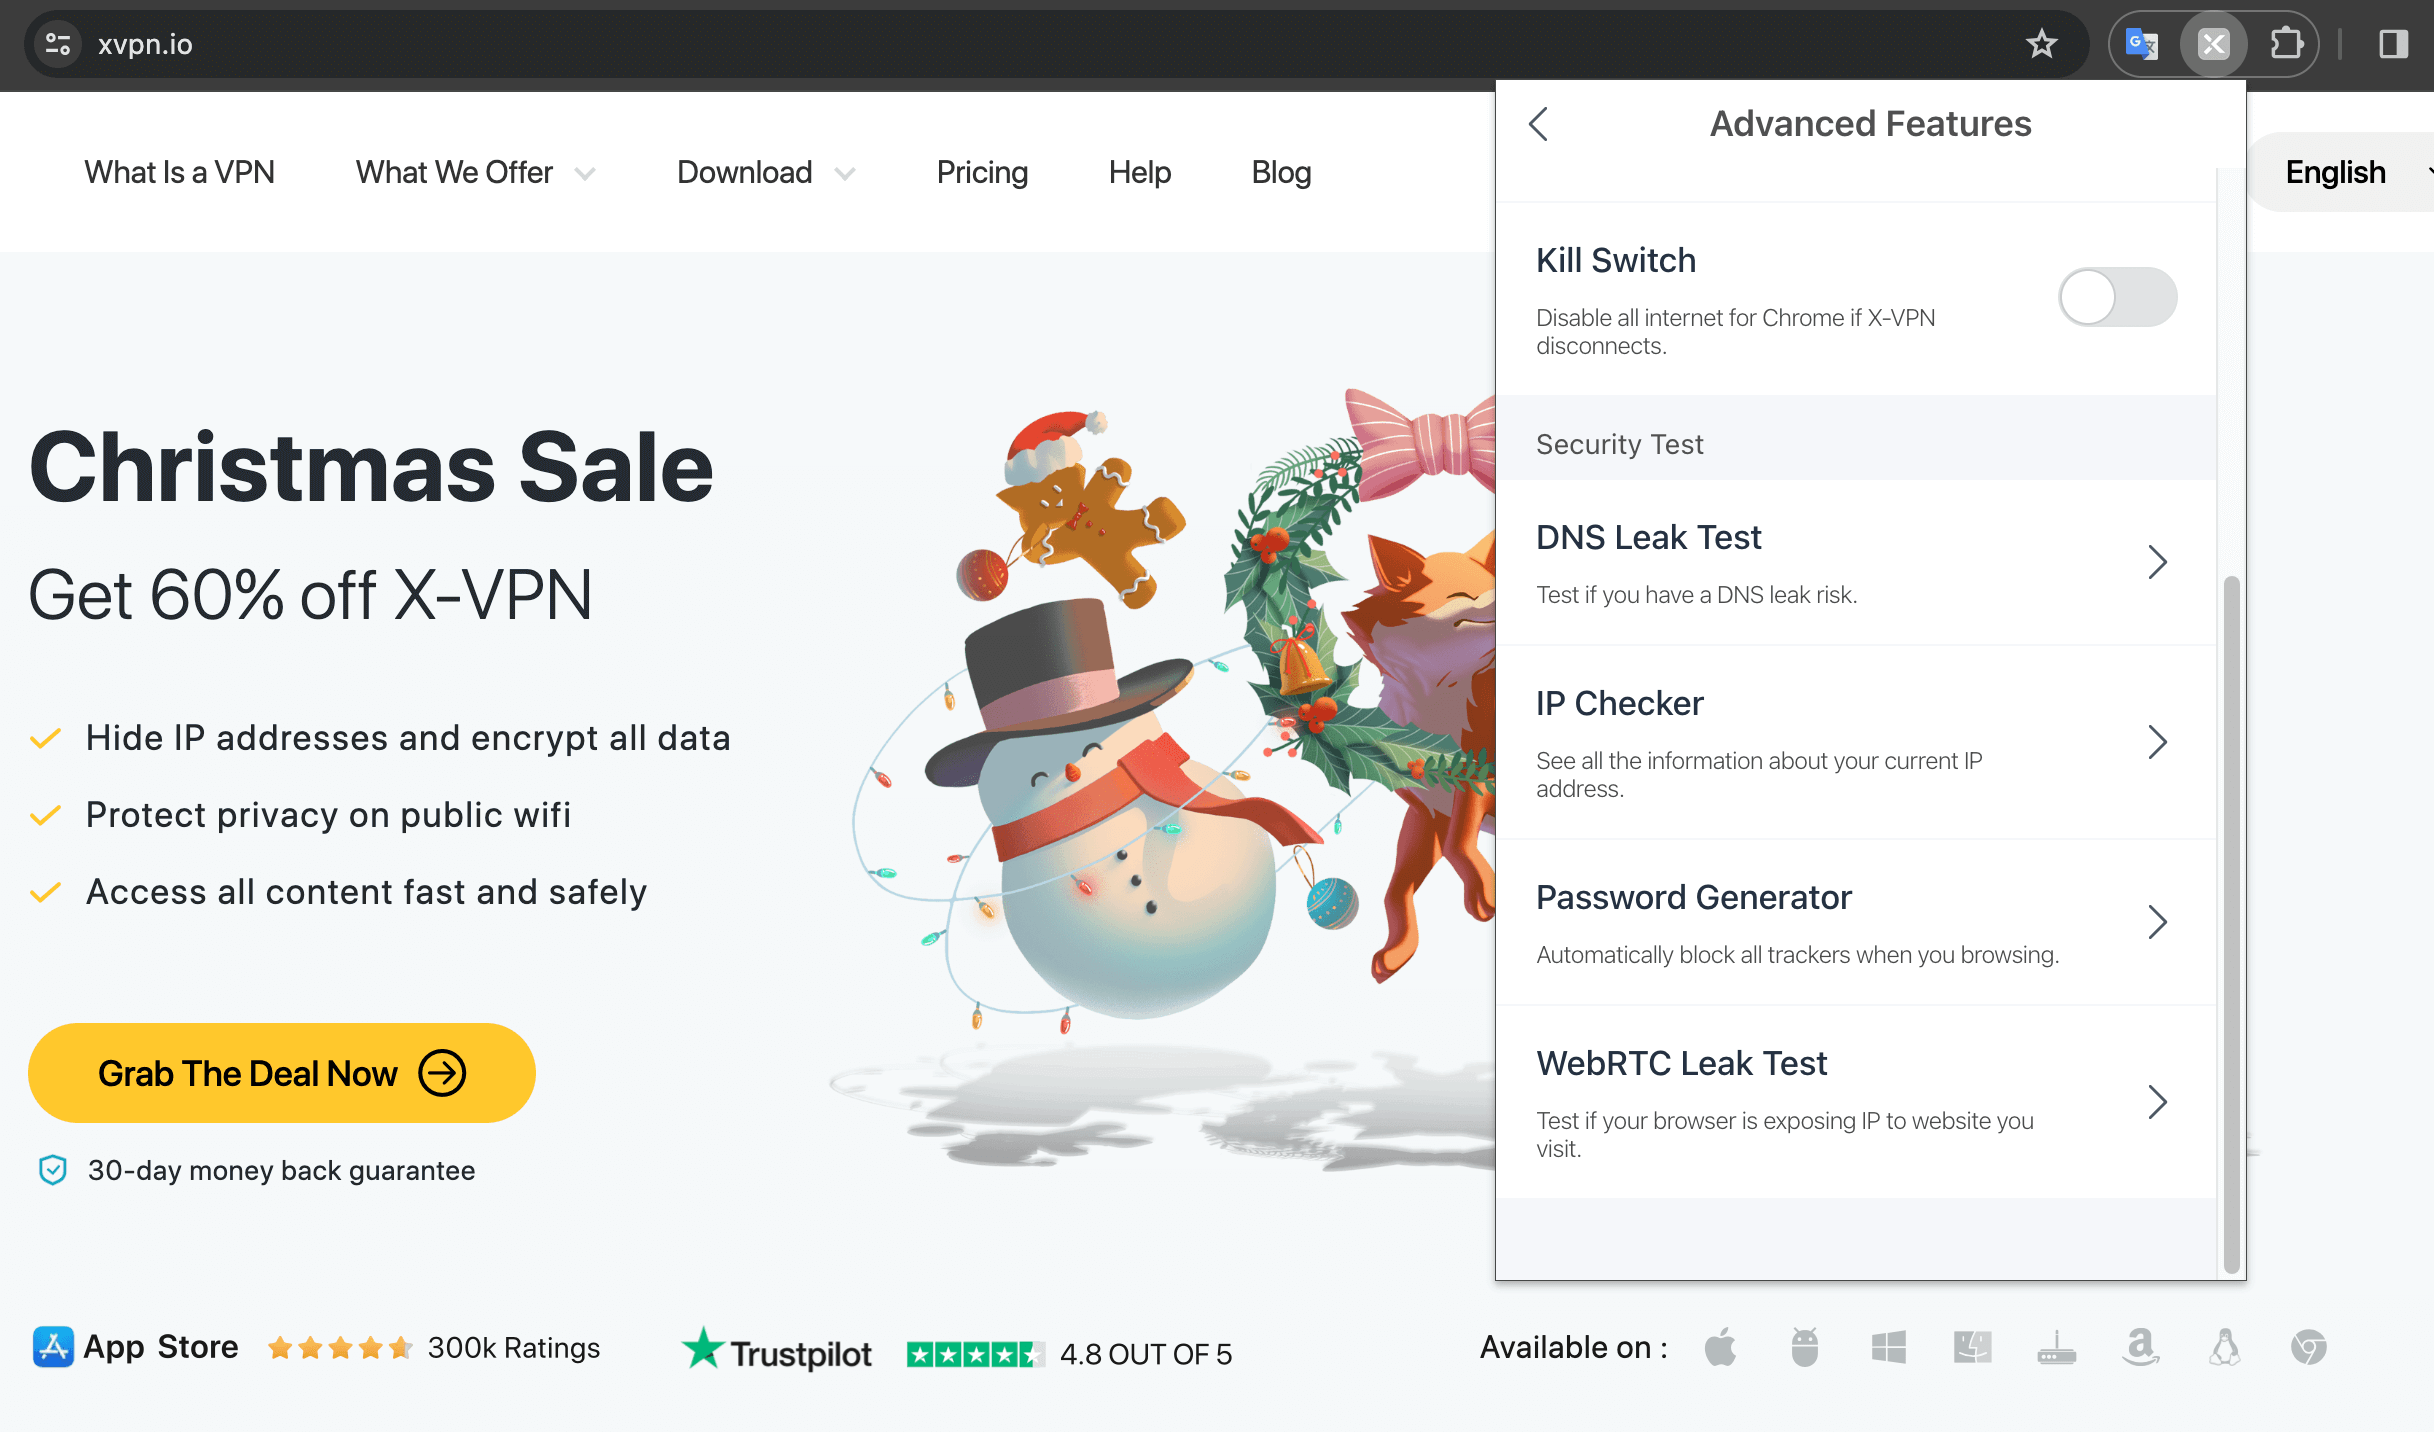
To unlock advanced security features and access to all 8000+ global routes, follow the steps in the next section.
How to upgrade to X-VPN Premium?
If you're subscribing to X-VPN's premium service for the first time:
1. From the successful installation page, choose your preferred package, fill in your email address for account registration, and proceed with the payment.
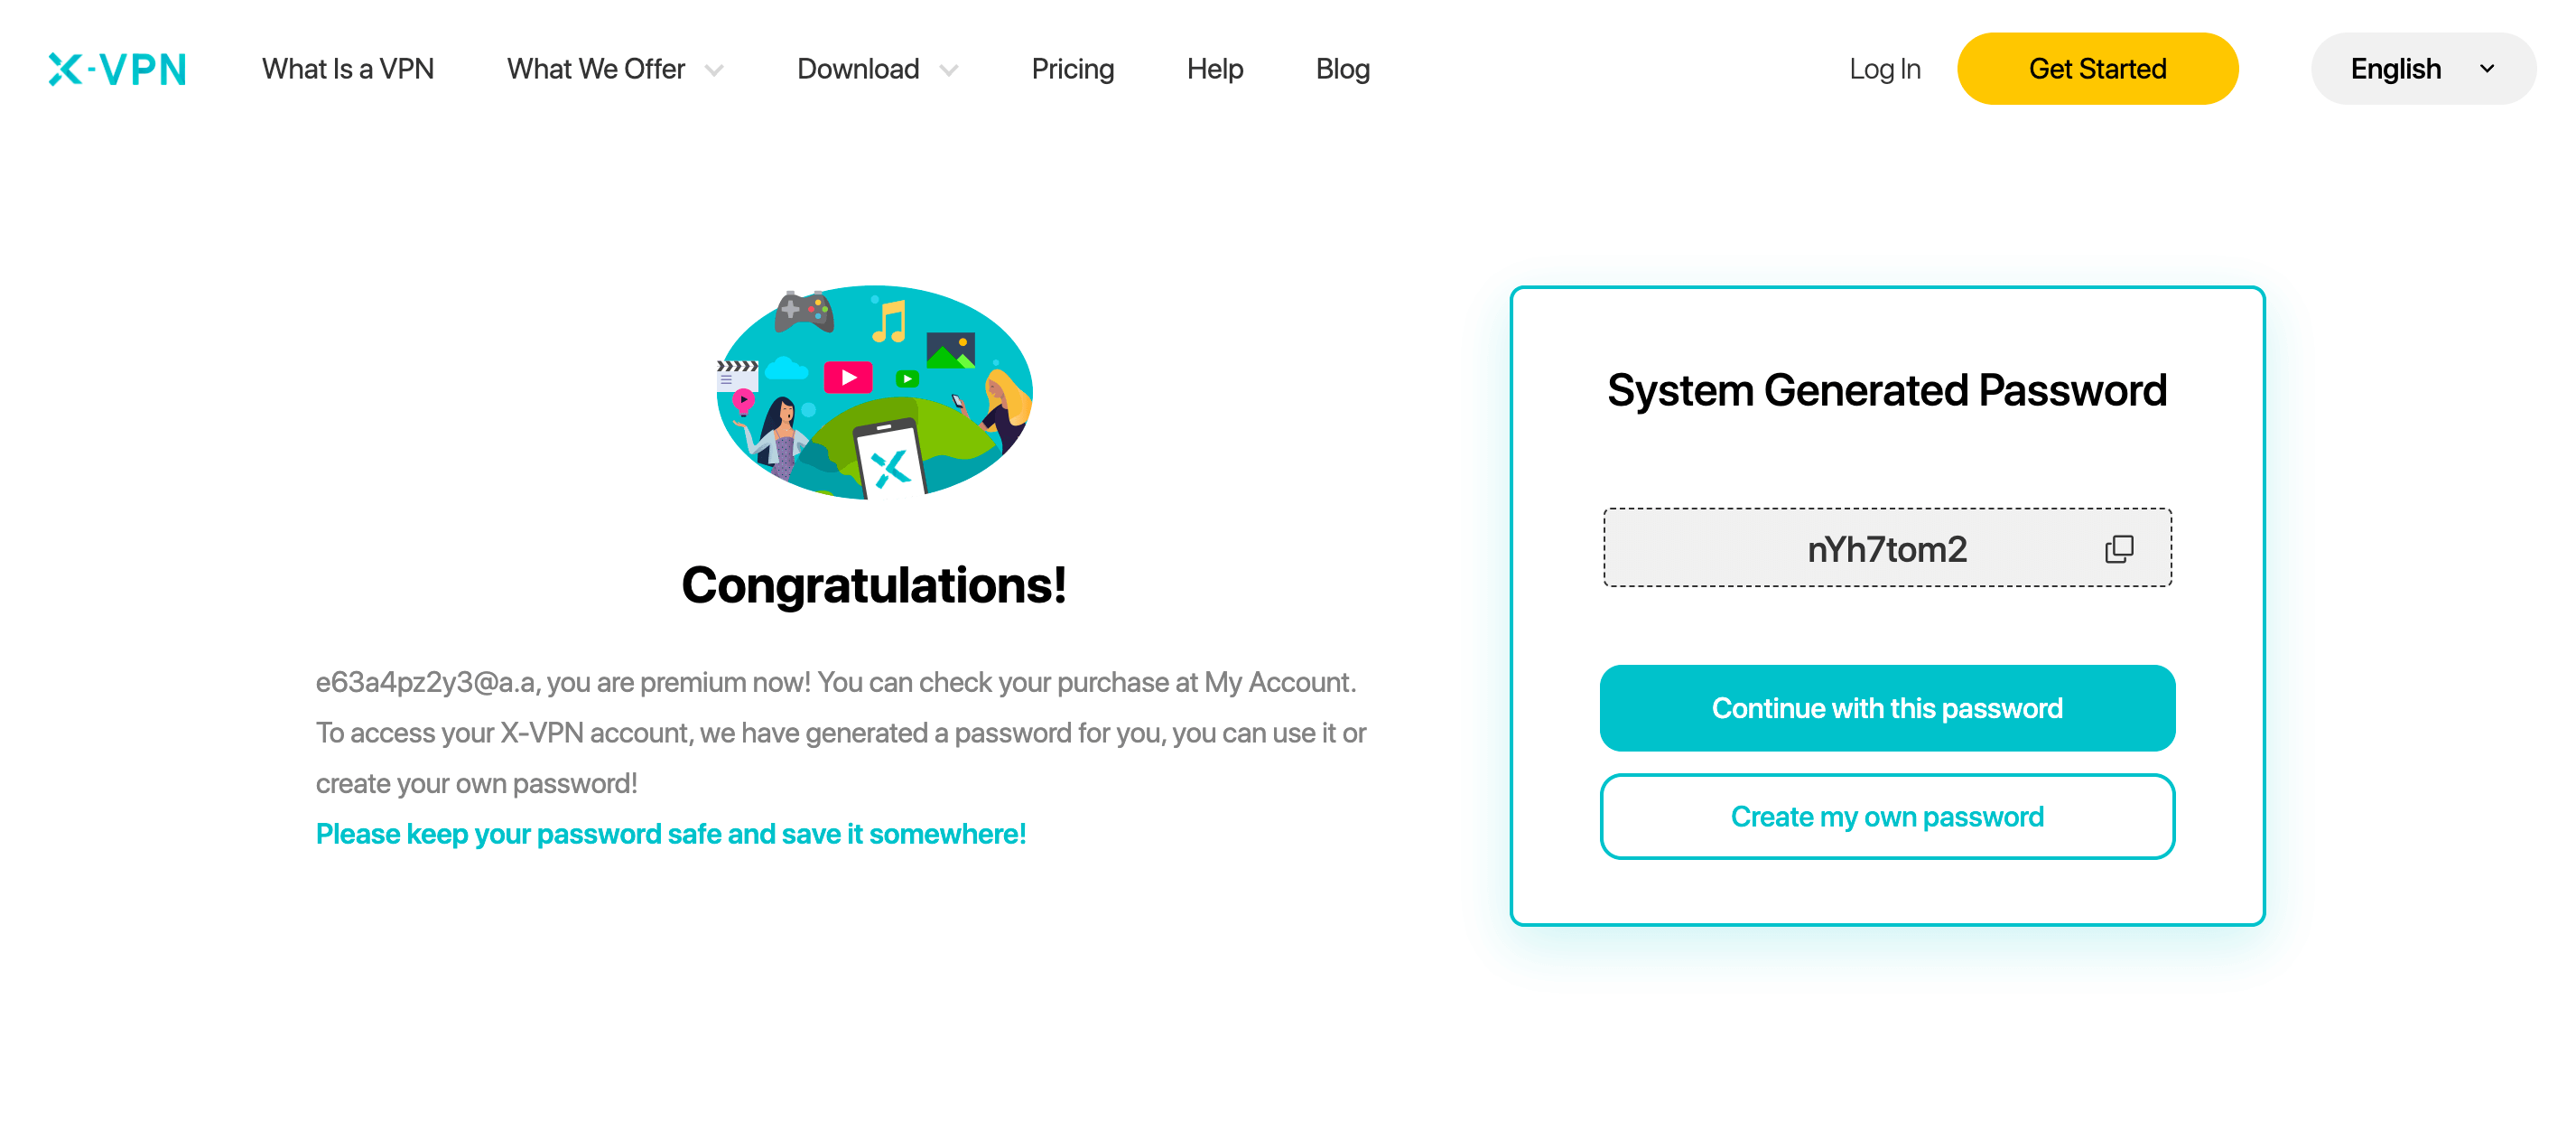
2. After successful payment, you can either use the randomly generated password or create your own.
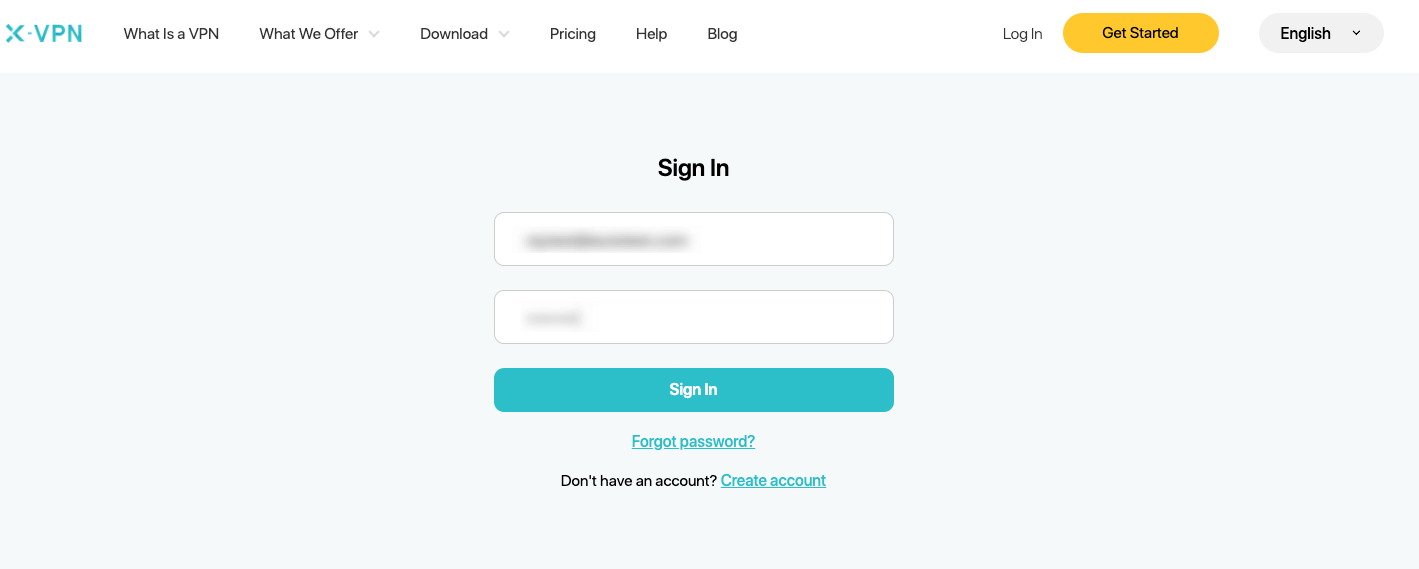
3. After password confirmation, manually enter your account details to log in.
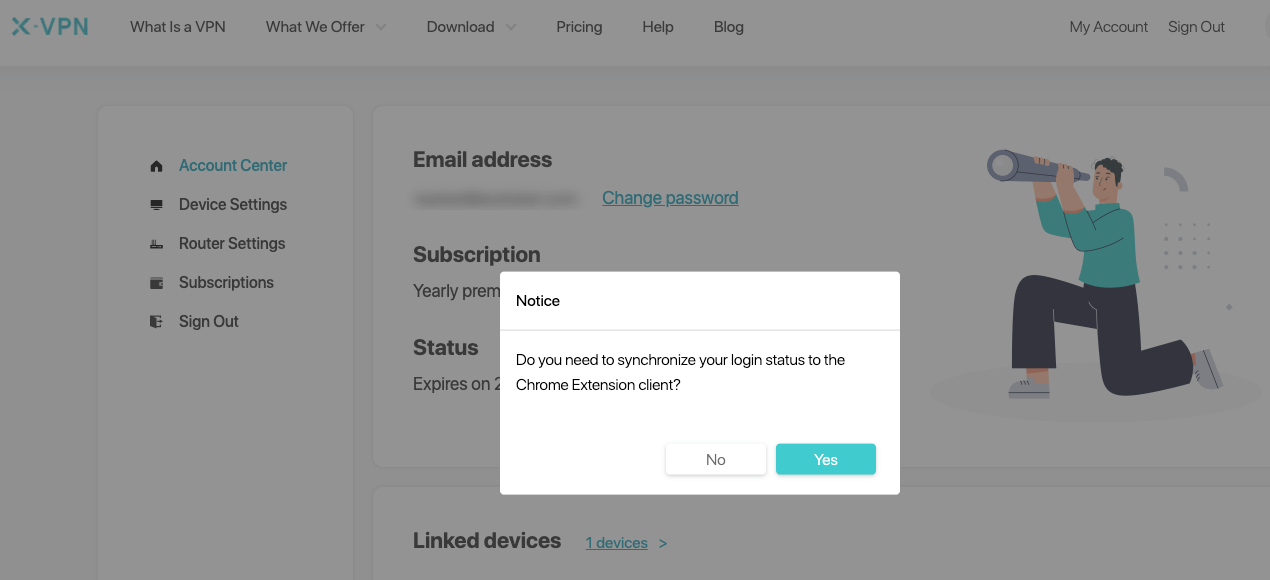
4. Opt for 'Yes' when prompted for account synchronization.
5. Open X-VPN Chrome extension, read and agree to the privacy policy.
6. Skip the premium subscription guide by pressing the top-left return button and start enjoying X-VPN Premium's features.
X-VPN offers a 30-day unconditional refund policy. If you're unsatisfied within the first 30 days, contact our support for a full refund.
If you've already subscribed to X-VPN Premium and logged in:
1. After successful Chrome installation, opt for 'Yes' when prompted for account synchronization.
2. Open X-VPN Chrome extension, read and agree to the privacy policy.
3. Skip the premium subscription guide and begin enjoying the premium features.
If you've already subscribed to X-VPN Premium but haven't logged in:
1. Follow the outlined installation process, but this time click 'sign in' when the premium subscription guide comes up.
2. Enter your account details and confirm.
3. When prompted for account synchronization, click ‘Yes’. Repeat the above steps.
Fail to sync account?
If you encounter any errors during the account synchronization process, click 'linked devices' in the error message or navigate to 'My account > Device settings' on our website to see if you've reached the maximum limit of 5 linked devices. Adjust accordingly, then retry the sign-in process.
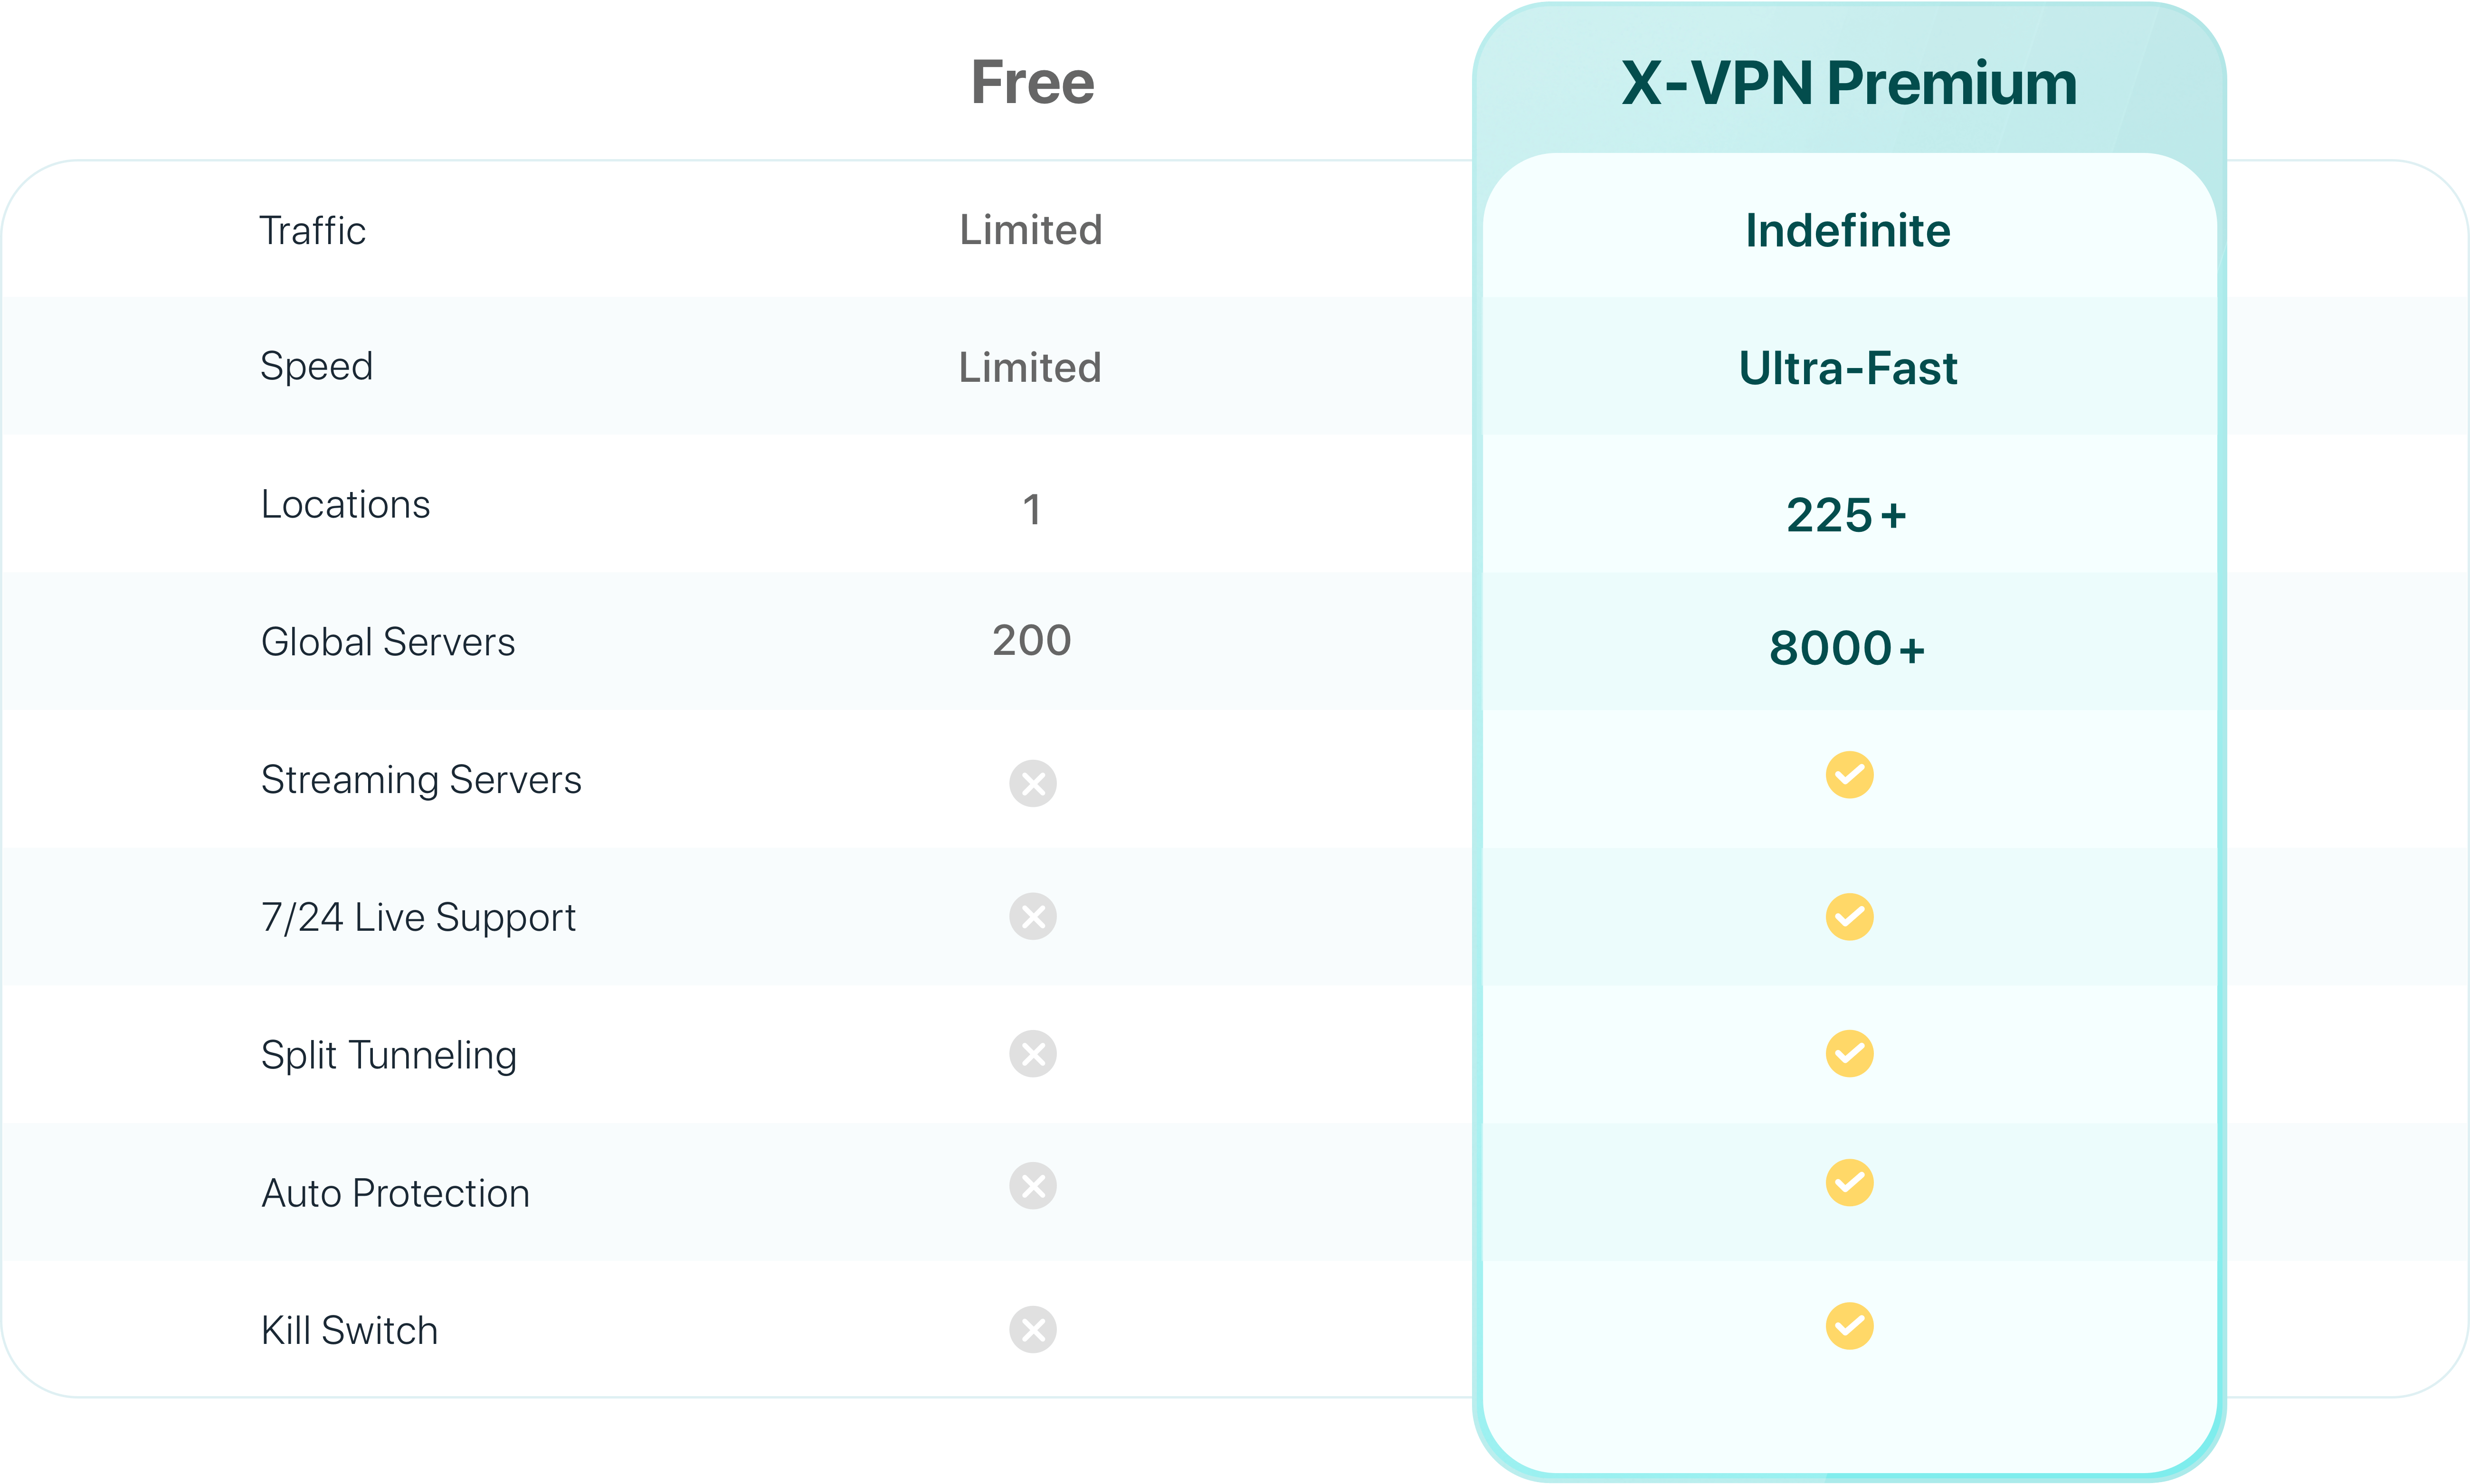
Free or paid VPN?
We've compiled a comparison of the services offered by our free and premium versions to help Chrome users make better-informed decisions based on their needs.
Besides Chrome, X-VPN supports a wide range of other devices. We are also actively developing our services for other browser extensions, so stay tuned.
Was this article helpful?
Thanks for your feedback!
Why wasn't this article helpful?