How to set up X-VPN on TP-Link router for L2TP?
Latest edited on 2026-07-17
In this tutorial, We will provide step-by-step instructions on how to set up L2TP VPN on your router. Let's start now!
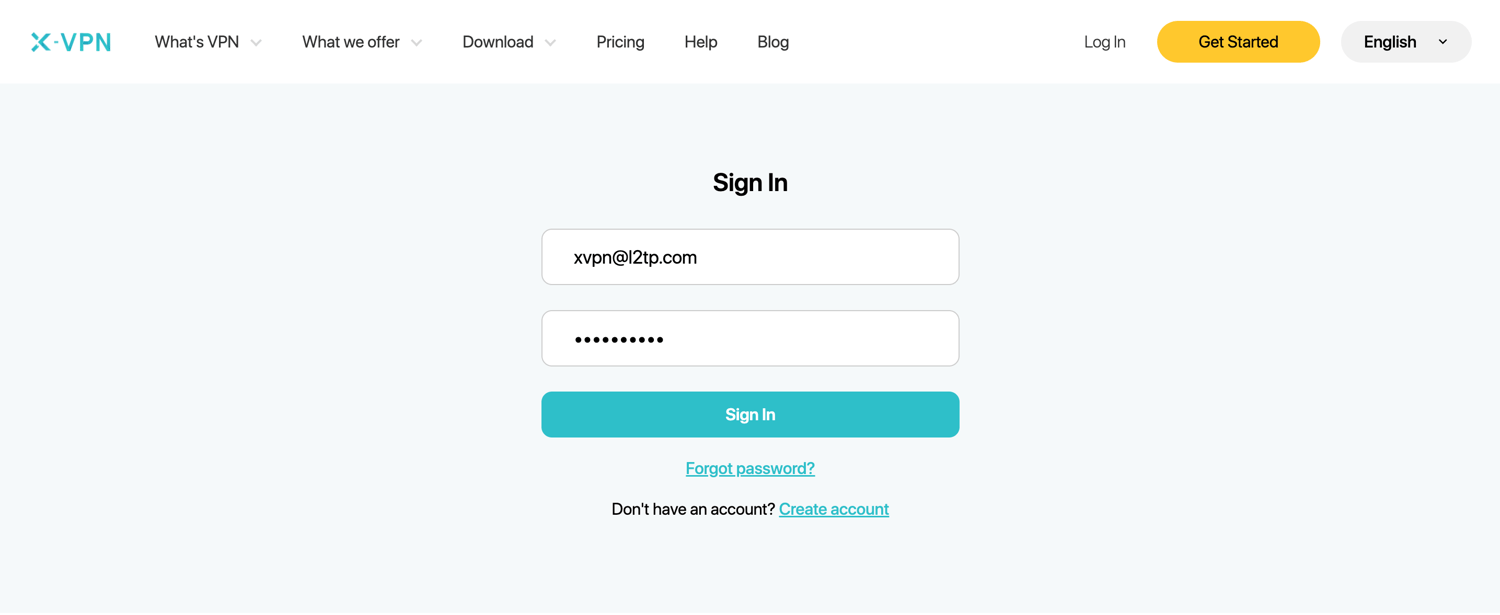
Step 1: Sign in to X-VPN account on the website: https://xvpn.io/login
 Note: Advanced configuration for Router is premium only, please make sure your account is premium.
Free users? Go premium to enjoy advanced benefits.
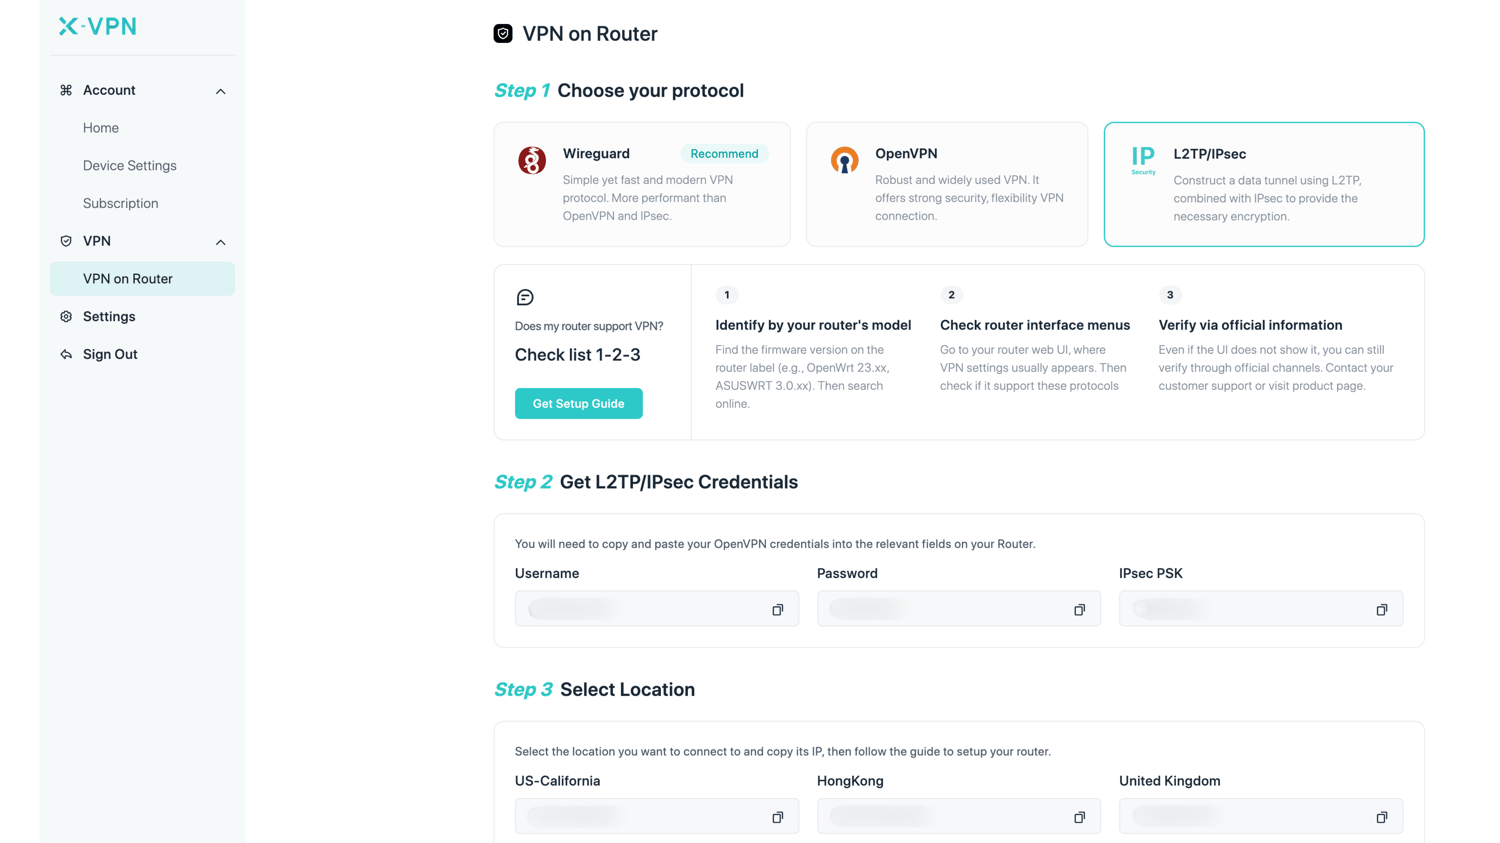
Step 2: Get your L2TP credentials
Go to My Account > VPN > VPN on Router, choose L2TP/IPsec, then get credentials (Username, Password and IPsec PSK ) and location IP address.
You can copy and paste the L2TP credentials into corresponding filed in your router.
Step 3: Sign in to your router account
Open your TP-Link router control panel on a new tab/page: enter the IP address of your router - http://192.168.0.1/, by default. Also, you can find your router's default gateway here.
The username and password are "admin" by default unless you've changed it. You can find the logins on the label at the bottom of the router as well.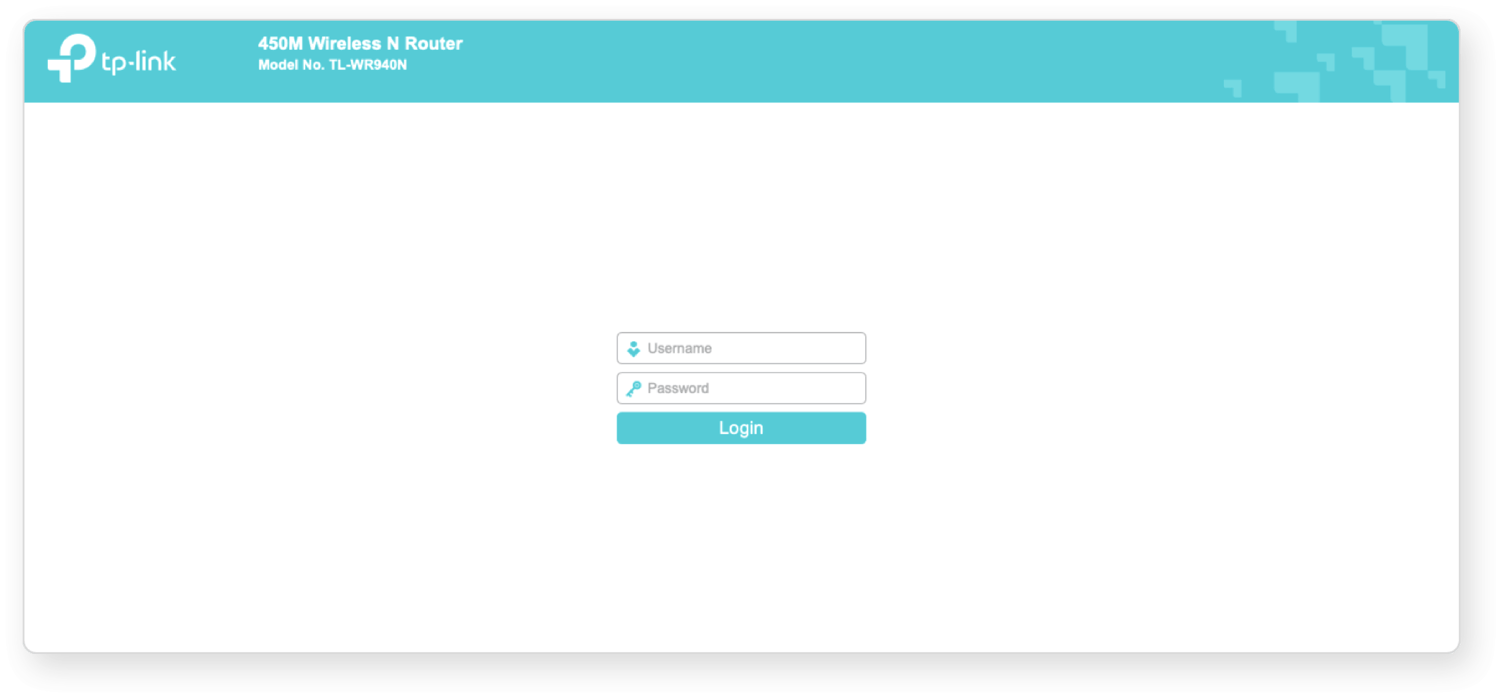
Step 4: Configure the L2TP VPN client
Navigate to "Network" > "WAN", to open the WAN settings page. Your control panel may vary per your router version.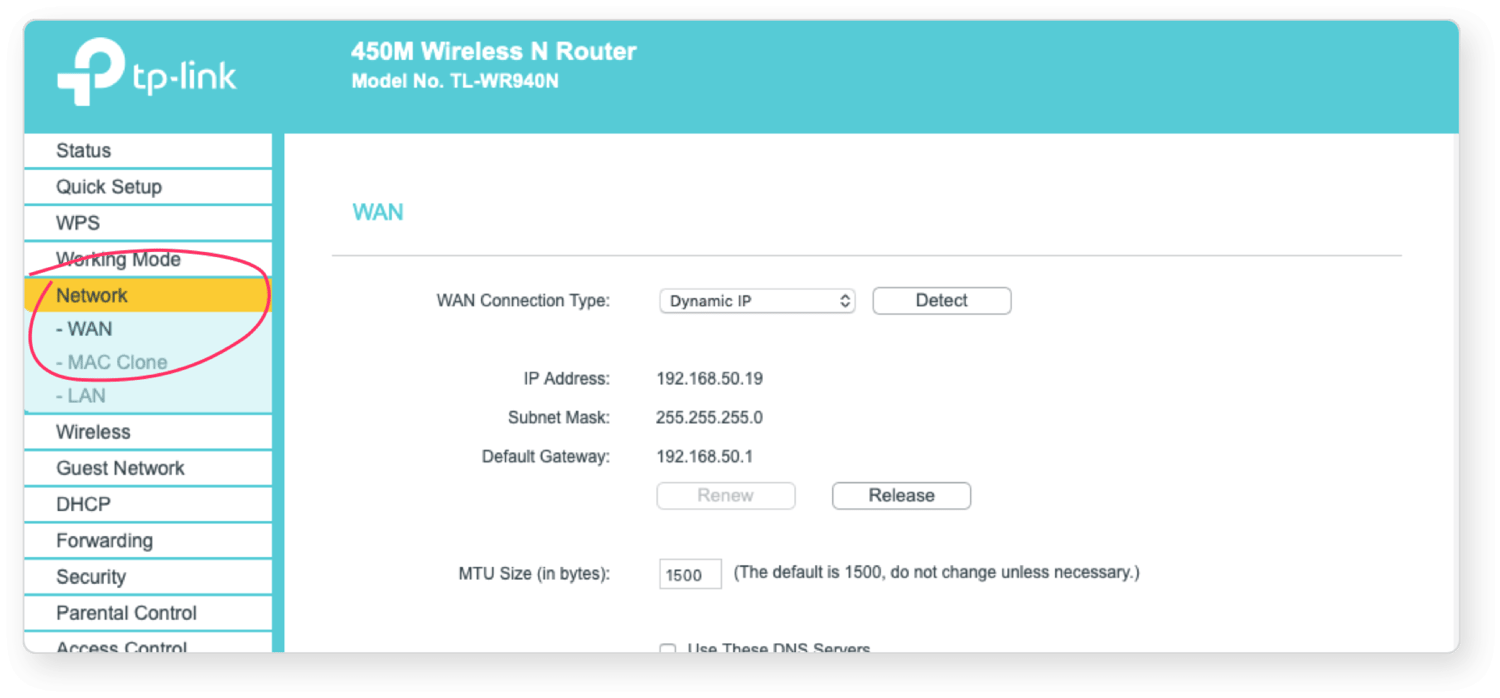 Change "WAN Connection Type " to PPTP/L2TP and copy the X-VPN credentials you got in step 2 and paste them into the fields.
Wan Connection Type: L2TP/PPTP
Username: Paste from Account-Router page, got in step 2
Password: Paste from Account-Router page, got in step 2
Server IP Address/Name: Paste IP from Account-Router page, got in step 2
Dynamic IP: Selected
Max Idle Time: 0
Connection Mode: Connect Manually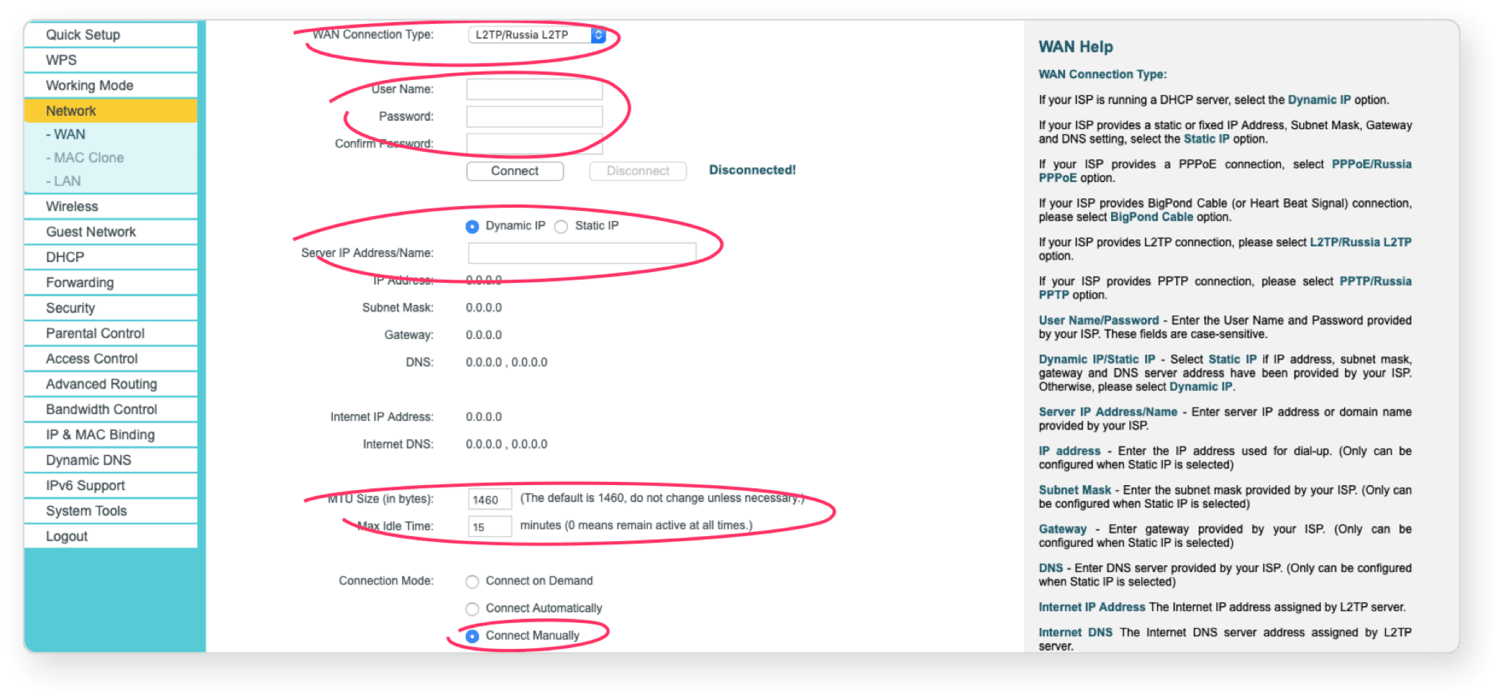 Then click "Connect", it may take some time to connect. You may visit this site to verify that your IP address has changed!
Need more help? Contact Us.
Was this article helpful?
Thanks for your feedback!
Why wasn't this article helpful?