How to Set Up a VPN?
Setting up a VPN is simpler than you might think. Typically, it involves downloading and installing the VPN app, signing in, and connecting to a server. Most VPN providers offer detailed instructions to guide you through the setup process. Here’s how you can get started on different devices:
Table of Contents
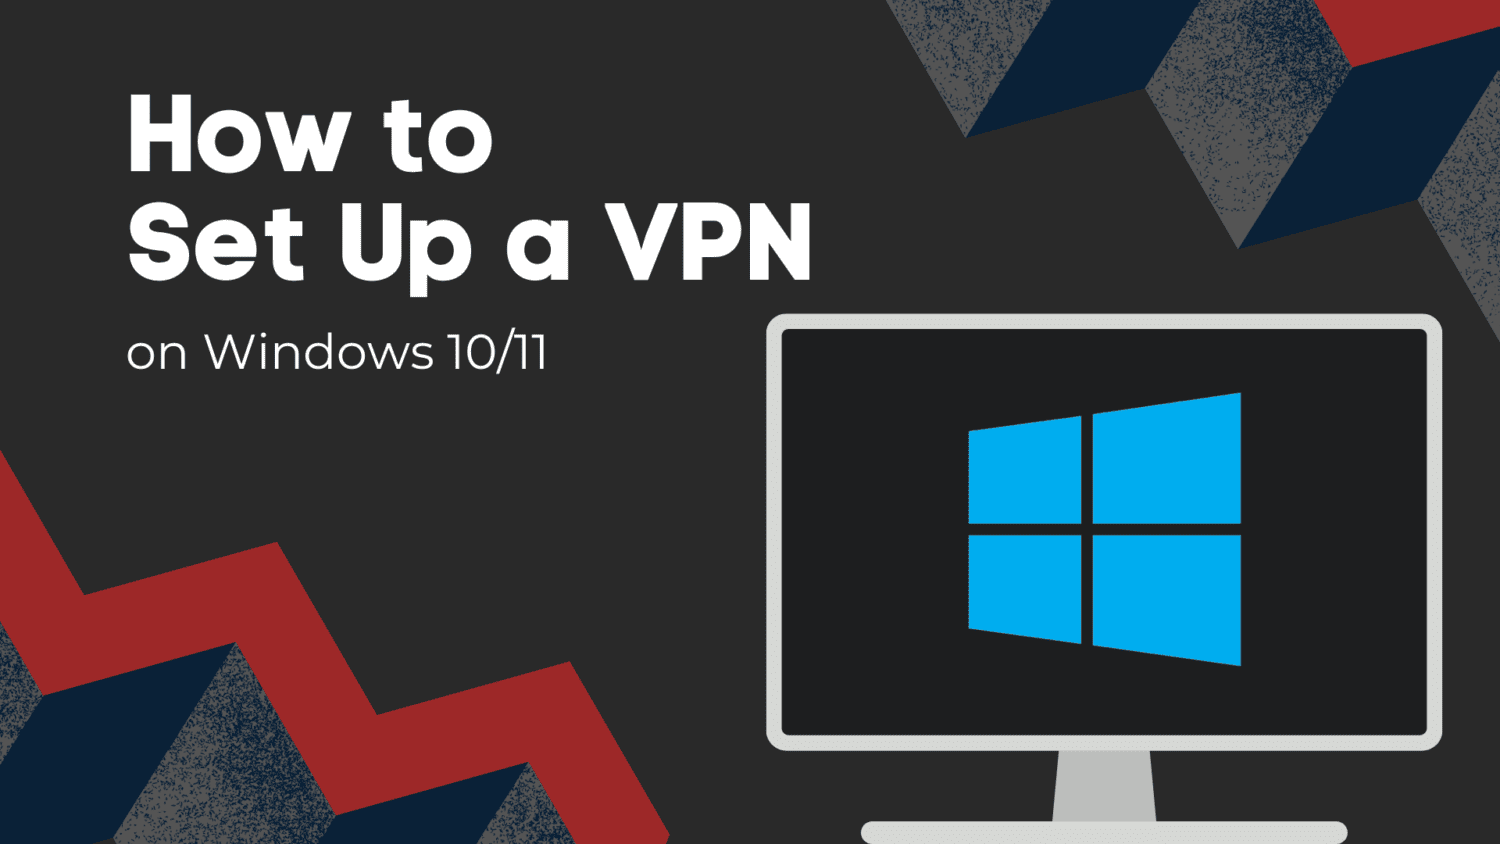
For Windows
- Choose a VPN provider: Pick a reliable VPN service and sign up for a plan that suits your needs.
- Download the VPN software: Visit the provider’s website and download the VPN software.
- Install the software: Follow the installation instructions.
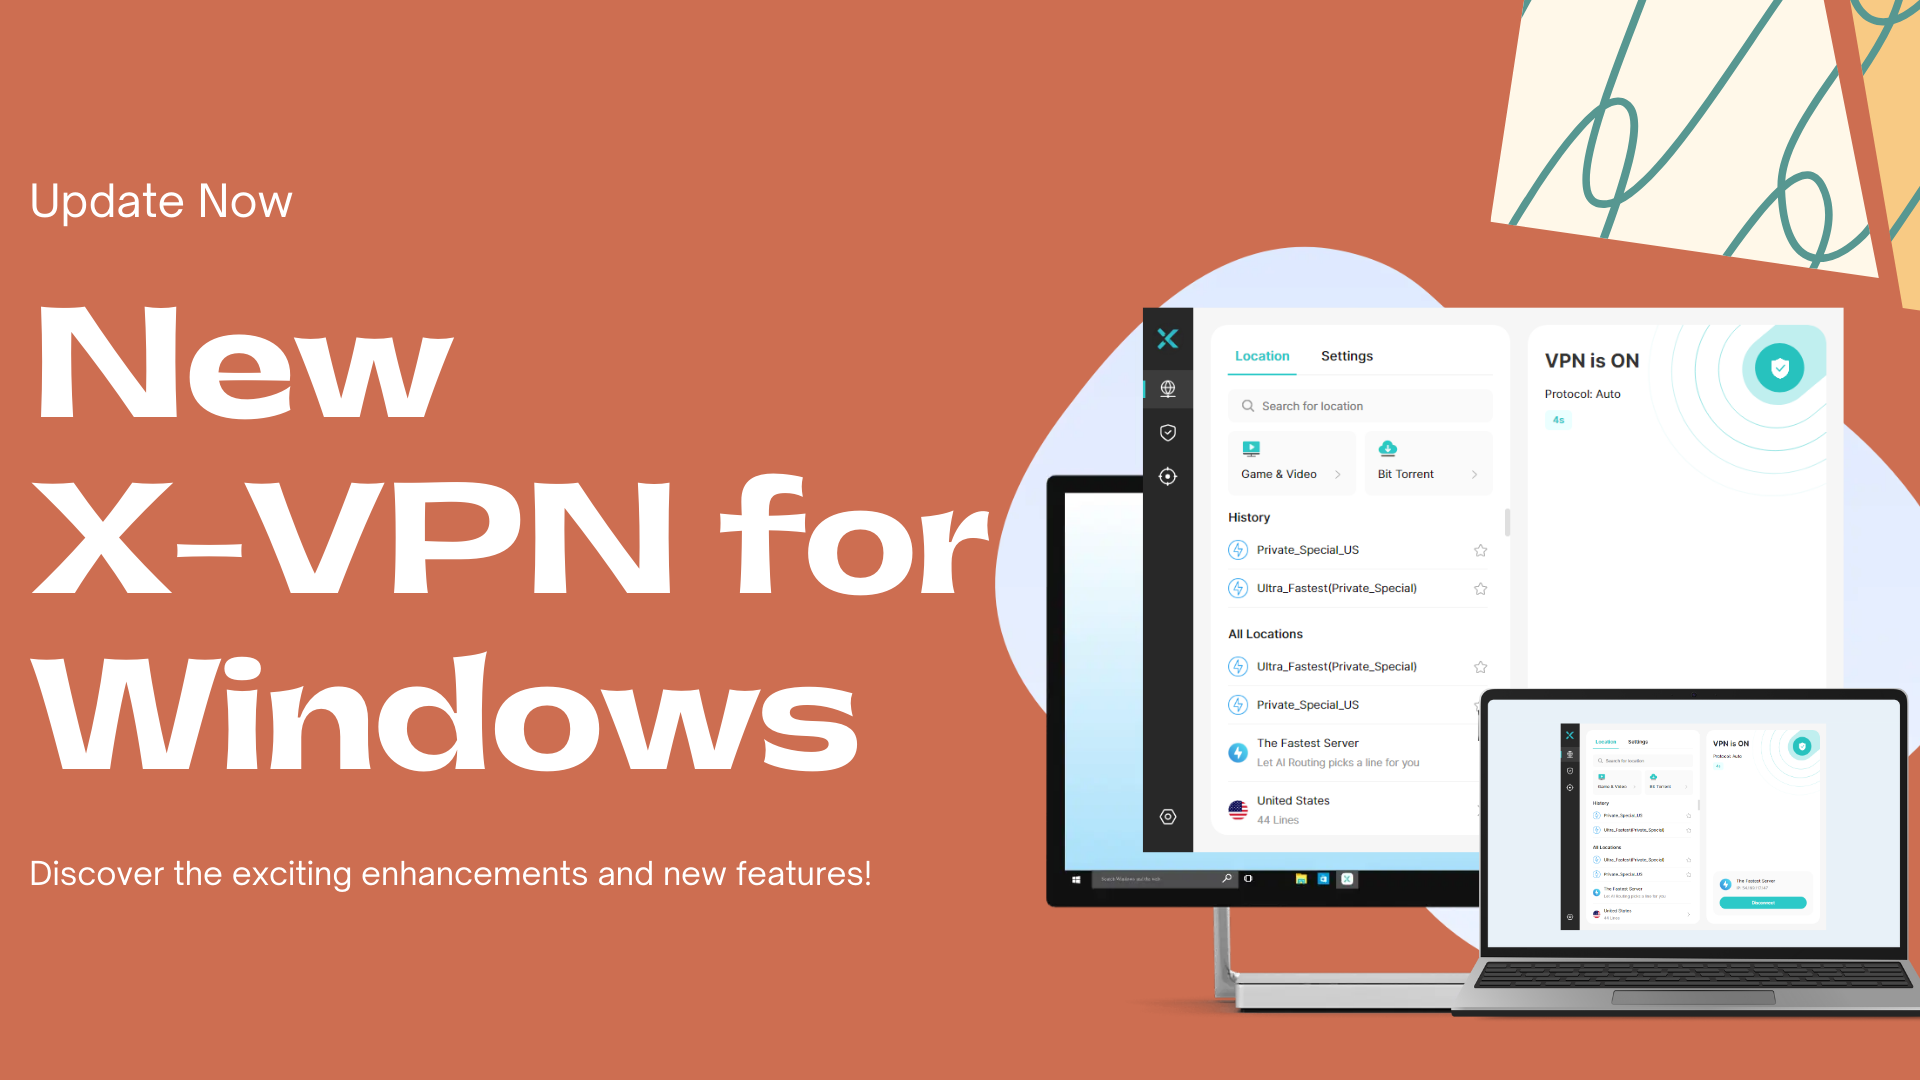
- Open the VPN application: Launch the app and log in with your credentials.
- Connect to a server: Select a server location and click ‘Connect’. You’re now browsing securely!
For macOS
- Sign up for a VPN service: Choose a reputable VPN provider.
- Download and install the VPN app: Get the app from the provider’s website.
- Log in and connect: Open the app, enter your login details, and connect to a server.
For iOS (iPhone/iPad)
- Download the VPN app: Go to the App Store and find your VPN provider’s app.
- Install and open the app: Follow the installation process.
- Log in and connect: Enter your credentials and choose a server.
For Android
- Find the VPN app: Open the Google Play Store and search for your VPN provider’s app.
- Download and install: Install the app on your device.
- Open the app and connect: Log in and connect to a server of your choice.
Choosing a Reliable VPN Service
- Look for strong encryption to protect your data.
- Ensure the service has a strict no-logs policy.
- Check the number of servers and their locations to ensure you have plenty of options.
How to Cancel Your VPN Subscription?
Canceling your VPN subscription might differ slightly depending on the provider. Here’s a general guide:
Purchases Made on the VPN Provider’s Official Website:
- VPN Provider’s Website: If you purchased directly from the VPN provider’s website, you can usually log in to your account, find a ‘Cancel’ button, or contact their customer service directly.
For ExpressVPN
- Sign in to your account: Visit the ExpressVPN website and log in.
- Manage your subscription: Go to the ‘Subscription’ section.
- Turn off automatic renewal: Click ‘Manage Settings’ and then ‘Turn off automatic renewal’.
For NordVPN
- Log into your account: Go to the NordVPN website and sign in.
- Navigate to billing: Find the ‘Billing’ section and click ‘Cancel Subscription’.
- Follow the prompts: Complete the cancellation process as directed.
For X-VPN
- Log into your account: Visit the X-VPN website and sign in.
- Navigate to the ‘Subscription’ section: Find and select the ‘Cancel Subscription’ option.
- Follow the prompts: Complete the cancellation process.
As you can see, most major VPN providers have similar steps for cancellation. Generally, you log into your account, find the billing or subscription section, and look for the cancel button. You can always contact customer support if you need extra help.
Important Note on the Origin of Your Purchase
If your purchase was made through the Play Store, App Store, or any other third-party service, you will need to handle your subscription and cancellation directly through them.
Third-Party Purchases:
- Play Store/App Store: If you purchased your VPN through these platforms, you’ll need to cancel through your account settings on the respective store. The refund policy may also differ.
VPN Refund Policies
The full refund period usually varies depending on where you made the purchase:
- VPN Provider’s Website: X-VPN, for instance, offers a 30-day money-back guarantee when you subscribe to the premium VPN service on their website.
- App Stores: If purchased via the App Store or Play Store, the refund period is typically governed by the store’s policy. For example, the Apple App Store handles refunds on a case-by-case basis, and the Google Play Store allows refunds within 48 hours of purchase (Apple Support).
How to Disable Your VPN
Disabling your VPN can be necessary for various reasons, such as troubleshooting network issues or accessing content that blocks VPNs. Here’s how you can disable your VPN on different devices:
For Windows
- Go to Settings: Click on the Start menu and select ‘Settings’.
- Select Network & Internet: Click on ‘Network & Internet’ from the settings menu.
- Select VPN: Choose ‘VPN’ from the list.
- Select the VPN to disable: Click on the VPN you wish to disable.
- Click Disconnect: This will disable your VPN connection.
For macOS
- Open System Preferences: Click on the Apple menu and select ‘System Preferences’.
- Select Network: Choose ‘Network’ from the preferences panel.
- Select your VPN: Find your VPN connection in the list.
- Click Disconnect: Click on the ‘Disconnect’ button to disable the VPN.
For iOS (iPhone/iPad)
- Go to Settings: Open the ‘Settings’ app on your device.
- Select General: Scroll down and tap on ‘General’.
- Select VPN: Tap on ‘VPN’.
- Toggle off the VPN: Toggle the switch next to the VPN connection to off.
For Android
- Open Settings: Go to the ‘Settings’ app on your device.
- Select Network & Internet: Tap on ‘Network & Internet’.
- Select VPN: Tap on ‘VPN’.
- Select the VPN to disable: Choose the VPN you want to disable.
- Tap Disconnect: This will turn off the VPN.
Using the VPN App
You can also disable your VPN through the VPN app itself. Depending on the provider, the button you need to click or tap might be called ‘Stop’, ‘Disconnect’, or ‘Turn Off’.
Split Tunneling: An Alternative Solution to Disabling the Entire VPN App
Instead of disabling your entire VPN, consider using the split tunneling feature. This allows you to select which apps or websites use the VPN and which ones use your regular internet connection. This way, you can bypass VPN restrictions for specific tasks without compromising your overall security.
Considerations
Disabling your VPN can expose your data to potential risks. Ensure you have a valid reason for doing so, such as diagnosing network issues or accessing VPN-restricted sites.