Facebook Messenger makes it easy to stay connected, but many users worry about its data collection, targeted ads, and other online security issues. So, how to deactivate Facebook Messenger on different devices? In this blog, we’ll guide you step by step and provide alternative solutions to improve your online privacy!
Table of Contents
Why Do People Want to Deactivate Facebook Messenger?
Before we get into how to deactivate Facebook Messenger, let’s talk about why many users might want to do it.
1. Privacy and Data Concerns
Facebook Messenger collects a lot of personal data, like your contacts, message content, and metadata, to target ads and analyze usage. Also, Messenger may track what you do and say to personalize ads, which can feel invasive and risky.
2. Get Rid of Constant Notifications
In today’s always-connected world, the endless notifications and messages from Messenger can hurt our mental health and productivity. Deactivating Messenger can help you escape the constant pings and the pressure to stay connected.
3. The Popularity of Other Messaging Apps
Nowadays, people prefer messaging apps like Signal, Telegram, and WhatsApp. So, many of them want to deactivate Facebook Messenger and switch to these options.
Considerations Before Deactivation
How to deactivate Facebook Messenger? Well, it’s essential to consider the following factors before making the move:
- Messenger’s association with Facebook: Deactivating Messenger means deactivating your Facebook account. Since Messenger is part of the Facebook platform, you have to deactivate your entire Facebook account to deactivate Messenger.
- Contact Information: Even if you’re taking a break from Messenger, some people might still need to reach you through the app. Identify these contacts and offer other ways to stay in touch, such as email or phone calls.
- Save Important Data: Back up any essential messages, files, or photos stored in Messenger.
Here’s how you can back up your Facebook Messenger data:
- Log In: Access your Facebook account through the website or mobile app.
- Navigate to Settings: Click on the downward-facing arrow or three horizontal lines, then select “Settings & Privacy” > “Settings”.
- Access Your Facebook Information: Choose “Your Facebook Information” from the left-hand menu.
- Request a Download: Select “Download Your Information” and click “Deselect All.”
- Select Data and Format: Tick the box next to “Messages,” choose the file format (HTML or JSON), and set the date range.
- Confirm the Download: Click “Request a download” and enter your password to confirm.
- Wait for Preparation: Wait for Facebook to prepare your data, which may take a few minutes or days.
- Download the File: Once prepared, download the file from the “Available Files” section.
Next, let’s see how to deactivate Messenger on different devices!
How to Deactivate Facebook Messenger on Mobile: iOS & Android
To deactivate Facebook Messenger, you need to first deactivate your Facebook account. After that, you’ll see the option to deactivate Messenger. If you’ve decided, let’s get started!
Step 1: Open the Messenger App
Open the Messenger app on your iOS or Android device.
Step 2: Access Settings
Tap your profile icon in the top left corner to open the menu, then select the settings icon (⚙️).
Step 3: Navigate to Account Settings
Scroll down and hit “Account Settings” or “See more in Accounts Center.”
Step 4: Select “Personal details” and then tap “Account ownership and control.”
Step 5: Delete or Deactivate. Tap on “Deactivation or deletion” and select the Facebook account you want to deactivate.
Step 6: Choose Deactivation
Select “Deactivate account” and continue through the prompts. You will be asked to enter your password to confirm.
Step 7: Confirm Deactivation
Follow the instructions to complete the deactivation process.
After these steps, both your Facebook account and Messenger will be deactivated. You won’t be able to use Messenger on iOS or Android devices anymore.
How to Deactivate Facebook Messenger on a Desktop?
Just like on your phone, you need to deactivate your Facebook account first before you can turn off Messenger. Here’s what to do:
Step 1: Open the Messenger website in your browser.
Step 2: Log in to your Facebook Messenger account.
Step 3: Click your profile picture in the top-left corner.
Step 4: Click “Settings” < “Account Settings.”
Step 6: Scroll down and choose “Deactivate Account.”
Step 7: Follow the on-screen instructions and enter your password if asked.
After you finish, both your Facebook and Messenger accounts will be deactivated. Your profile will no longer be visible to others.
How to Deactivate Messenger Without Deactivating Facebook?
No, you can’t deactivate Messenger without deactivating Facebook. However, if you want to reduce interruptions from Messenger, try this:
Hide Messenger’s Online Status (Active Status)
> On Mobile Devices:
- Open the Messenger app on your cell phone.
- Tap the “profile icon” in the top left corner.
- Scroll down and tap “Active Status”.
- Tap “Active Status” and turn off the “Show when you’re active” option.
> On Desktop:
- Go to Messenger.com.
- Click the three dots in the top left corner.
- Click the “Preferences” menu.
- Select “Turn off Active Status”.
Note: Turning off your online status will also stop you from seeing when others are online.
Disable Messenger Notifications
> On Mobile Devices:
- Open the Facebook Messenger app.
- Tap your profile picture or profile icon in the top left corner.
- Scroll down and find the “Notifications” option.
- Adjust the notification settings to disable unnecessary notifications.
> On Desktop:
- Visit Messenger.com.
- Click the three dots (ellipsis) in the top left corner.
- Click the “Preferences” menu.
- In the “Notifications” section, adjust the settings to disable or customize notifications.
By following these steps, you can reduce Messenger interruptions and maintain better privacy without deactivating your Facebook account.
4 Best Facebook Messenger Alternatives
Looking for privacy-focused alternatives to Facebook Messenger? Here are some options to consider:
1. WhatsApp: Popular with over 2 billion users, it offers end-to-end encryption, group chats, file sharing, and voice/video calls.
2. Telegram: Known for privacy features like secret chats and self-destructing messages, it supports large group chats and has a desktop app.
3. Signal: Highly secure with end-to-end encryption, it’s favored by privacy-conscious users, including journalists and activists.
4. Discord: Originally for gamers, it’s great for community building and team collaboration, offering voice, video, text chat, and screen sharing.
Here’s a quick comparison of their main features:
Telegram | Signal | Discord | ||
---|---|---|---|---|
End-to-End Encryption | ✅ | ✅ | ✅ | ✅ (for voice and video calls) |
Private Chats | ✅ (optional) | ✅ (secret chats) | ✅ | ✅ (direct messages) |
Self-Destructing Messages | ❌ | ✅ | ✅ | ❌ |
Screenshot Detection | ❌ | ❌ | ✅ | ❌ |
Message Expiration | ❌ | ✅ (optional) | ✅ | ❌ |
File Sharing | ✅ (up to 100 MB) | ✅ (up to 2 GB) | ✅ (up to 100 MB) | ✅ (up to 8 MB) |
Group Chat Size | Up to 256 people | Up to 200,000 people | Up to 100 people | Up to 10,000 people |
Ease of Use(Editor’s Rating) | Very Easy | Easy | Moderate | Moderate |
Cross-Platform Support | ✅ (mobile, desktop, web) | ✅ (mobile, desktop, web) | ✅ (mobile, desktop) | ✅ (mobile, desktop, web) |
When picking a Messenger alternative, think about what matters to you—security, features, and ease of use.
Protect Your Online Privacy and Security with a VPN
Whether you use Facebook or other messaging apps, we highly recommend using a VPN. Here’s why:
- Hide Your IP Address: A VPN directs your internet traffic through a remote server, which hides your true IP address and location. This prevents your ISP and others from monitoring you.
- Protect Your Data: VPNs use encryption to scramble your data so anyone trying to spy on you can’t read it.
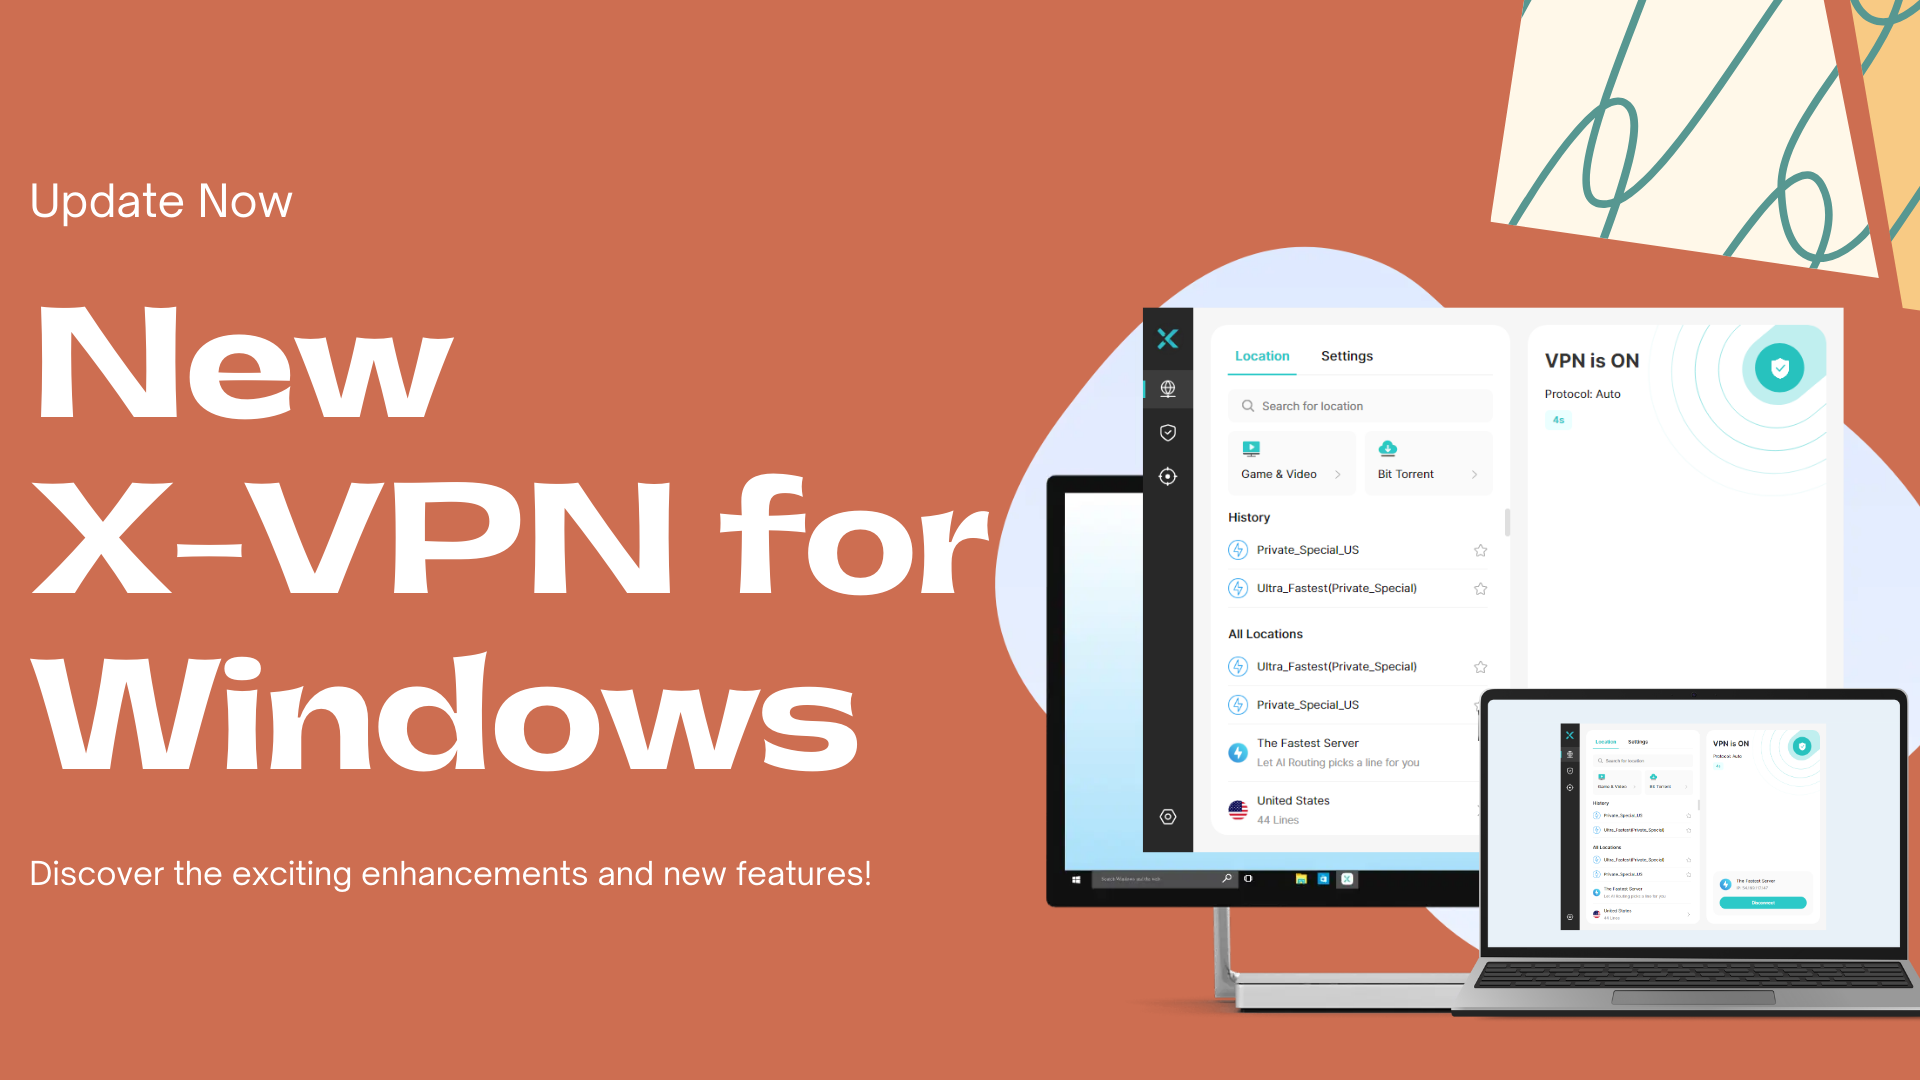
- Boost Security: Besides privacy, a VPN also boosts your online security. For example, X-VPN offers military-grade encryption, a kill switch, and protection against IP and DNS leaks, ensuring your internet use stays private and secure.
- Stay Safe Even on Public Wi-Fi: Public Wi-Fi is often unsafe, but a VPN adds a layer of protection, preventing hackers from intercepting your sensitive information.
Ready to get started? Here’s a simple step-by-step guide:
- Choose a reliable VPN service. X-VPN is an excellent choice. It’s known for strong security, effective unblocking, and fast speeds. Even better, X-VPN offers both a free version with unlimited usage and a paid version with a 30-day free trial!
- Download X-VPN > Open it > Register and log in.
- Select “The Fastest Server”. This option will offer the best network speed.
- Once connected, X-VPN will safeguard your online activities.
Conclusion
How to deactivate Facebook Messenger? Now, you should have a complete understanding. Before deactivating, remember to back up important conversations and inform your contacts about your decision. Also, it’s always a good idea to use tools like VPNs to protect your online privacy.
>> People Also Like:
- How to Buy TikTok Coins Cheapest in 2024: Save 27%!
- How to Get YouTube Premium at the Lowest Cost? Save 95%!
- 30 Best FMovies Alternatives in 2024
FAQs
Can someone still message me if I deactivate Messenger?
If you deactivate Facebook Messenger, you will not be able to receive or send new messages on Messenger.
What do my friends see when I deactivate Facebook?
Your friends will still see your name on their lists, but they can’t view your profile or interact with you until you reactivate.
Why can’t I deactivate Messenger?
There could be a few reasons why you’re encountering difficulties in deactivating Messenger:
・Platform Differences: The steps vary for desktop, iOS, and Android.
・Account Permissions: Make sure you’re logged in with the right credentials.
・Technical Issues: Temporary glitches might be the problem. Try again later or contact support