When using a Mac, you might need a VPN to access blocked sites or for other reasons. But do you know how to set up a VPN on macOS? Actually, it is very easy and only takes a few steps. We will show you step by step! Let’s get started!
Table of Contents
Why You Need a VPN for Your Mac?
A VPN, or Virtual Private Network, makes Internet browsing safe and anonymous by encrypting data and changing your IP address. Well, do you need a VPN for your Mac? Check out the main benefits of a VPN and decide for yourself!
1. Access Restricted Content: A VPN can bypass regional blocks on services like YouTube or Netflix by changing your virtual location.
2. Privacy Protection: When you use a VPN, your IP address is hidden. This makes it hard for hackers and ISPs to track what you do online and where you are.
3. Secure Browsing: When you connect to a VPN, it encrypts all your online data, preventing others from intercepting or stealing it. A VPN will keep your data safe, even on public or unsecured networks.
4. Avoid Speed Throttling: Prevent ISPs from slowing down your internet speed during streaming or gaming.
5. Cheaper Purchases: Prices for some products vary by country. A VPN lets you switch to regions with lower prices, helping you save money.
How to Set up a VPN on MacOS: Using a VPN App
Using a VPN app is the easiest and quickest way, requiring no technical knowledge. Here’s how to do it:
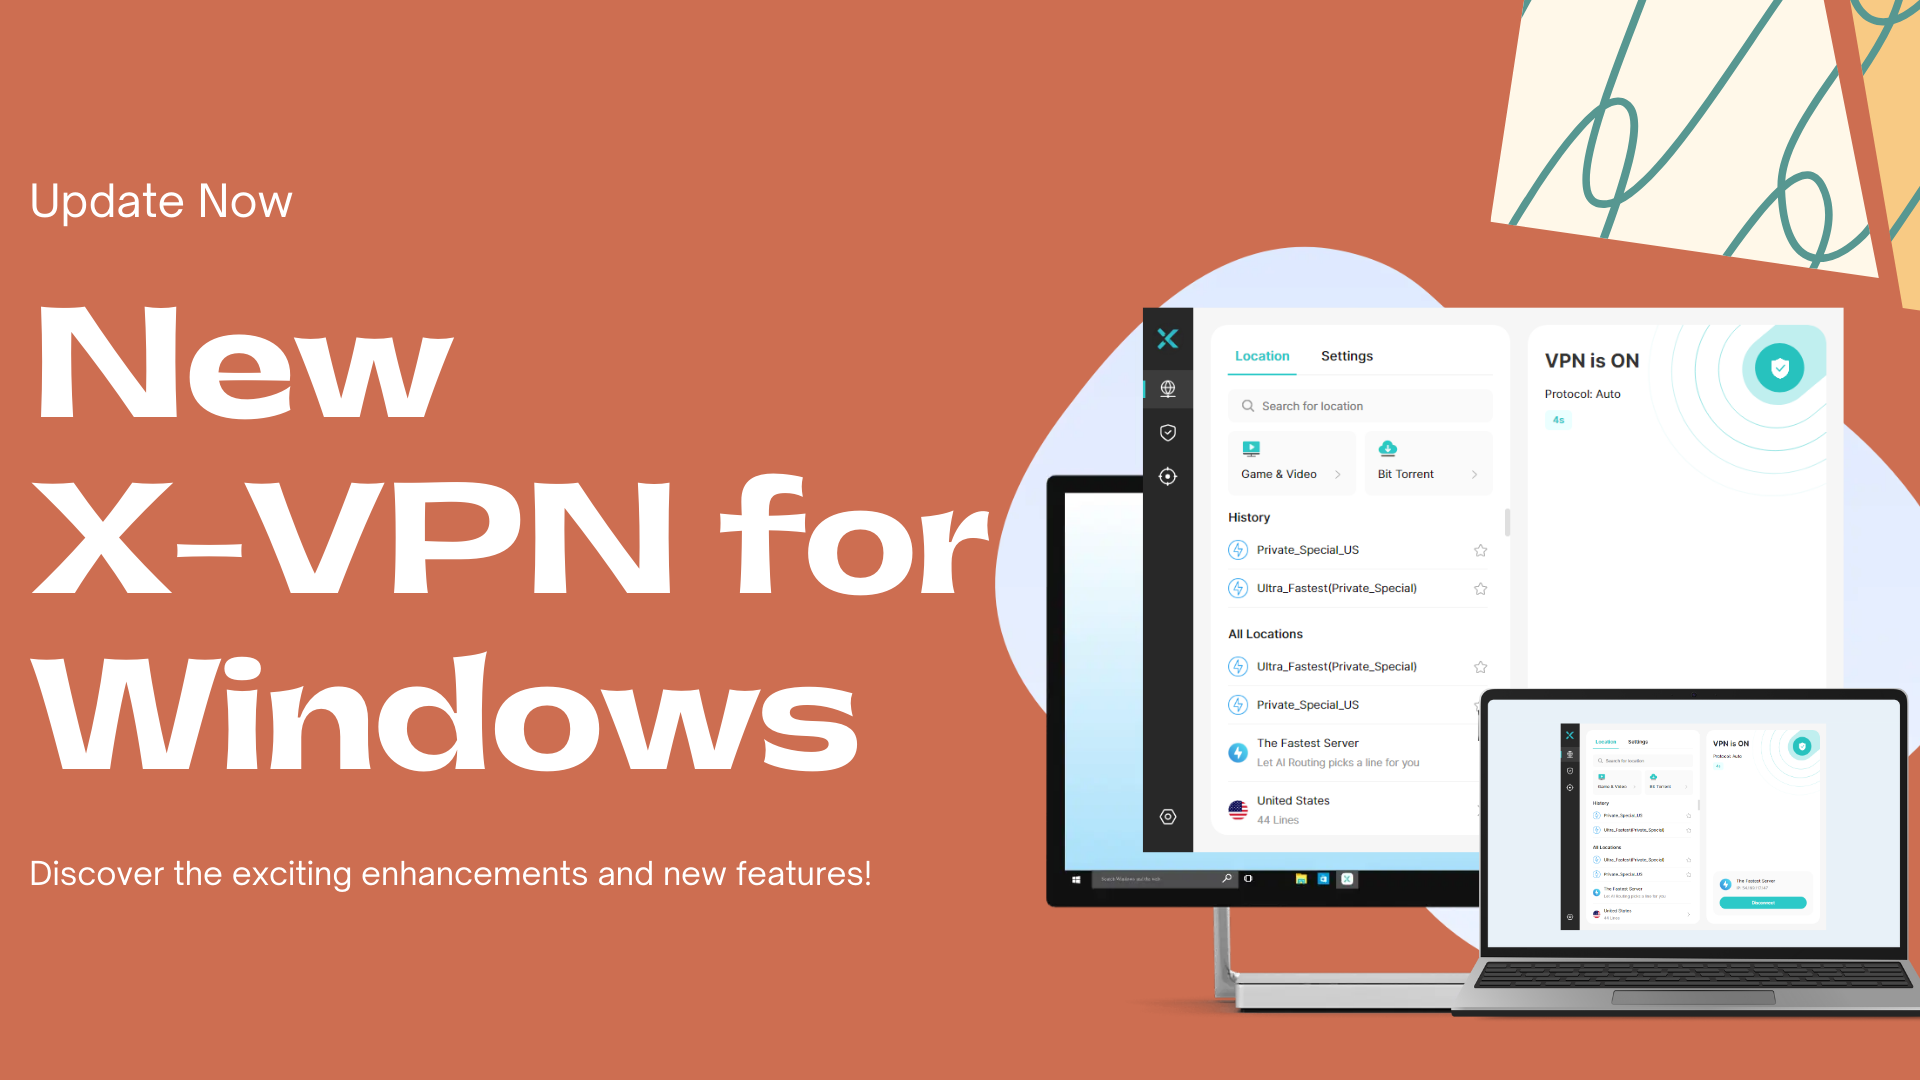
Step 1: Choose a reputable VPN that is compatible with your Mac. For this guide, we will use the hot free option, X-VPN, as an example.
Step 2: Download and install the X-VPN app. The following 3 ways are all available:
- From the Mac App Store (recommended)
- From the X-VPN official website
- From X-VPN’s GitHub page
*X-VPN requires macOS 10.11 or later.
Step 3: Open X-VPN and follow the prompts.
Step 4: Register and Log In (Optional)
- Free users: No account needed, but features are limited.
- Paid users: An account is required for more server locations and advanced features(like kill switch, DNS leak test, etc.).
Step 5: Connect to a Server.
- Free users: Connect to the optimal server automatically. Manual selection is not available.
- Paid users: Choose from 8,000+ servers in 65 countries.
Step 6: Done! Your Mac will now be protected by X-VPN. You can safely browse your favorite content on the Internet without restrictions! Prefer a video tutorial? Check it out here.
The Best Free VPN for Mac in 2024
Before paying for a VPN, you can try some quality free Mac VPNs. With VPNs becoming popular and necessary, more top VPN providers offer both free and paid options. Here are the 3 best free VPNs for Mac.
X-VPN Free | TunnelBear Free | Hide.me Free | |
---|---|---|---|
Security(Editor’s Rating) | ⭐️⭐️⭐️⭐️⭐️ | ⭐️⭐️⭐️⭐️ | ⭐️⭐️⭐️⭐️ |
Data Limit | NO | 2GB/mo | NO |
Speed Limit | NO | NO | YES |
Free Servers | 1,000+ | 5,000 | 8 |
Need an Account | NO | YES | NO |
No-logs Policy | YES | YES | YES |
Device Compatibility | macOS, iOS, Android, Windows, Chrome, Chromebook | macOS, iOS, Android, Windows, Linux, Chrome | macOS, iOS, Android, Windows |
Simultaneous Connections | 5 | Unlimited | 1 |
Read The 7 Best Free VPNs for Mac to get more info.
How to Choose a VPN for Your Mac?
If you want to choose a VPN for your Mac yourself, consider these points:
1. Mac Compatibility: Ensure the VPN works with your macOS version and has an easy-to-use app.
2. Security: Look for strong security features like AES-256 encryption, kill switch, and DNS leak protection.
3. Privacy: A strict no-log policy ensures that your online activities are not logged.
4. Servers: More server locations offer faster, more stable connections. For example, X-VPN has 8,000+ servers in 65 countries.
5. Performance: Make sure the VPN is fast and stable, especially for streaming and gaming.
6. Ease of Use: Choose a VPN with an easy-to-use interface and support for multiple devices simultaneously.
7. Customer Support: 24/7 live support can be very helpful.
8. Price: Compare subscription plans to get the best deal for your money. Free VPNs like X-VPN are great, but you can also try VPNs that offer free trials.
Want to choose the best free VPN for different devices? Read the related articles for tailored recommendations:
- Best Free VPN for PC
- Best Free VPN for Windows
- Best Free VPN for Android
- Best Free VPN Chrome Extension
How to Set up a VPN on MacOS Manually?
You can also set up a VPN on a Mac manually, but it can be more complicated and only meets basic VPN needs. Here are the steps:
1. Click the Apple Menu > “System Settings”> “Network.”
2. Click the three dots in the lower right corner and choose “Add VPN Configuration.”
3. Choose your VPN type (L2TP/IPSec, Cisco IPSec, or IKEv2).
4. Enter the ‘Required’ details (server address, account name, password, etc.). You can get this information from your VPN provider or network administrator.
5. Click “Create”. Your VPN is now set up. You can verify your new IP address using an IP address checker.
Manual setup allows customization, but VPN apps are more convenient and secure. They simplify setup and offer more features for a better experience.
Why Can’t I Set up a VPN on Mac Manually?
As mentioned earlier, manually setting up a VPN on a Mac can be challenging. Here are common issues and solutions:
- Incorrect Information: Ensure you enter the correct server address, username, password, etc.
- Unsupported Protocol: The VPN provider might use a protocol that macOS does not support natively. You may need extra software or configuration.
- Firewall or Network Restrictions: Network settings or firewalls might block your VPN connection. Adjust firewall settings, try different ports, or use stealth mode. Contact your network admin or VPN support if needed.
- Device Compatibility: Make sure your macOS version is compatible with the VPN. Older versions may not work with newer protocols.
- Miss Configuration Files: Check that required files (like OpenVPN’s .ovpn) are correctly placed.
If the issue persists, contact your VPN provider’s customer support for help.
Conclusion
How to set up a VPN on macOS? The easiest and quickest way is to download a VPN app like X-VPN. Click below to start a free 30-day VPN trial now!
FAQs
Does my Mac have a built-in VPN?
Yes, Mac has built-in VPN support. Follow our “How to Set up a VPN on Mac Manually” guide to set it up.
Is it safe to use a VPN on Mac?
Yes, using a VPN on a Mac is generally safe. A good VPN enhances your online security and privacy. Just choose a reputable VPN service provider to avoid risks like data logging or poor security.
How to get a VPN on Mac for free?
Simply download and install a free VPN app from the App Store on your Mac. However, free VPNs often have limitations, such as limited data or fewer servers. For a free VPN, we recommend X-VPN, as it offers strong security, unlimited data, and no speed limits.