How to set up X-VPN on GL.iNet router - WireGuard?
Latest edited on 2026-07-17
In this tutorial, we'll provide step-by-step instructions on how to set up WireGuard VPN on your GL.iNet router. Let's dive in now!
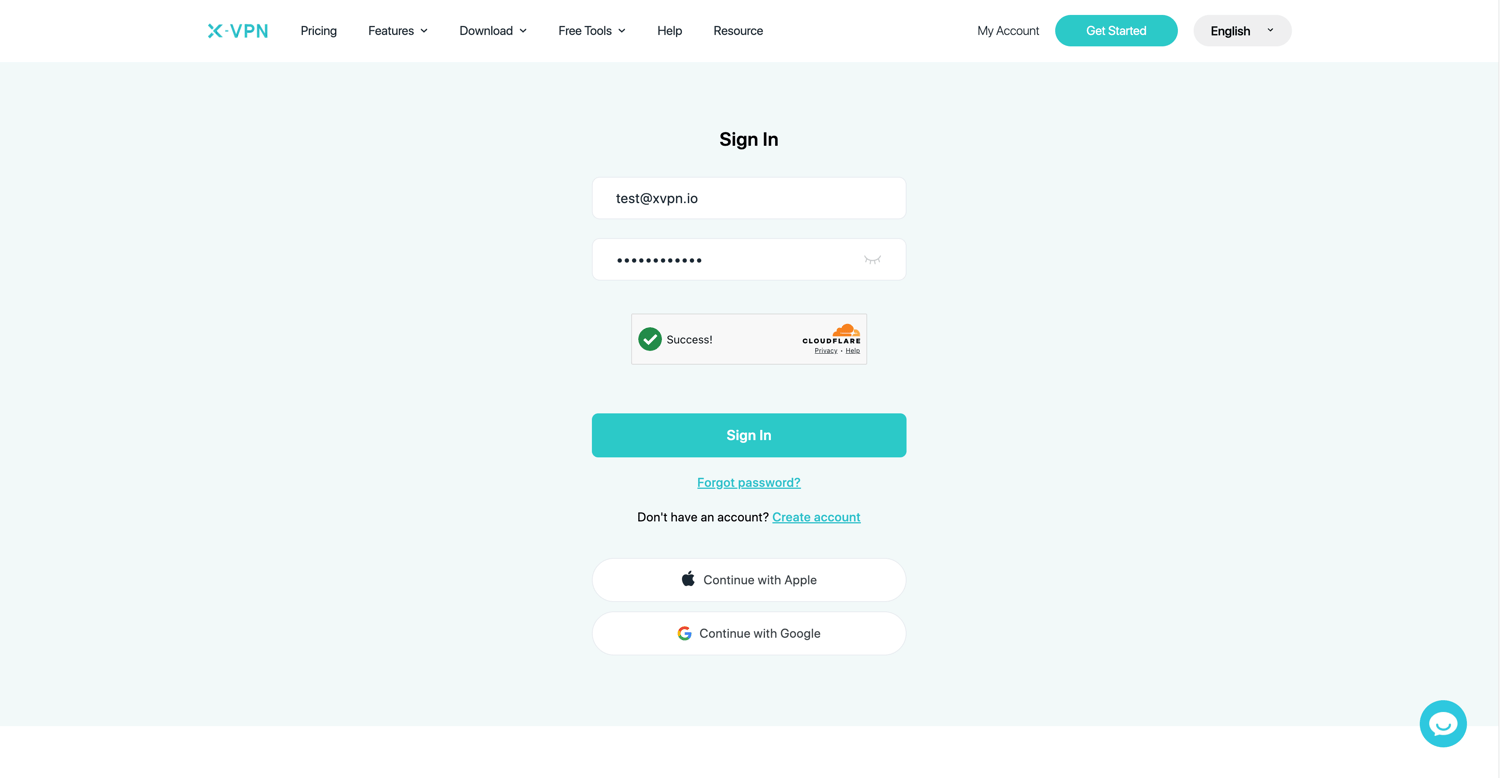
Step 1: Sign in to your X-VPN account
Sign in to your X-VPN account on the official website: https://xvpn.io/login
Note: Advanced configuration for Router is premium only, please make sure your account is premium.
Free users? Go premium to enjoy advanced benefits.
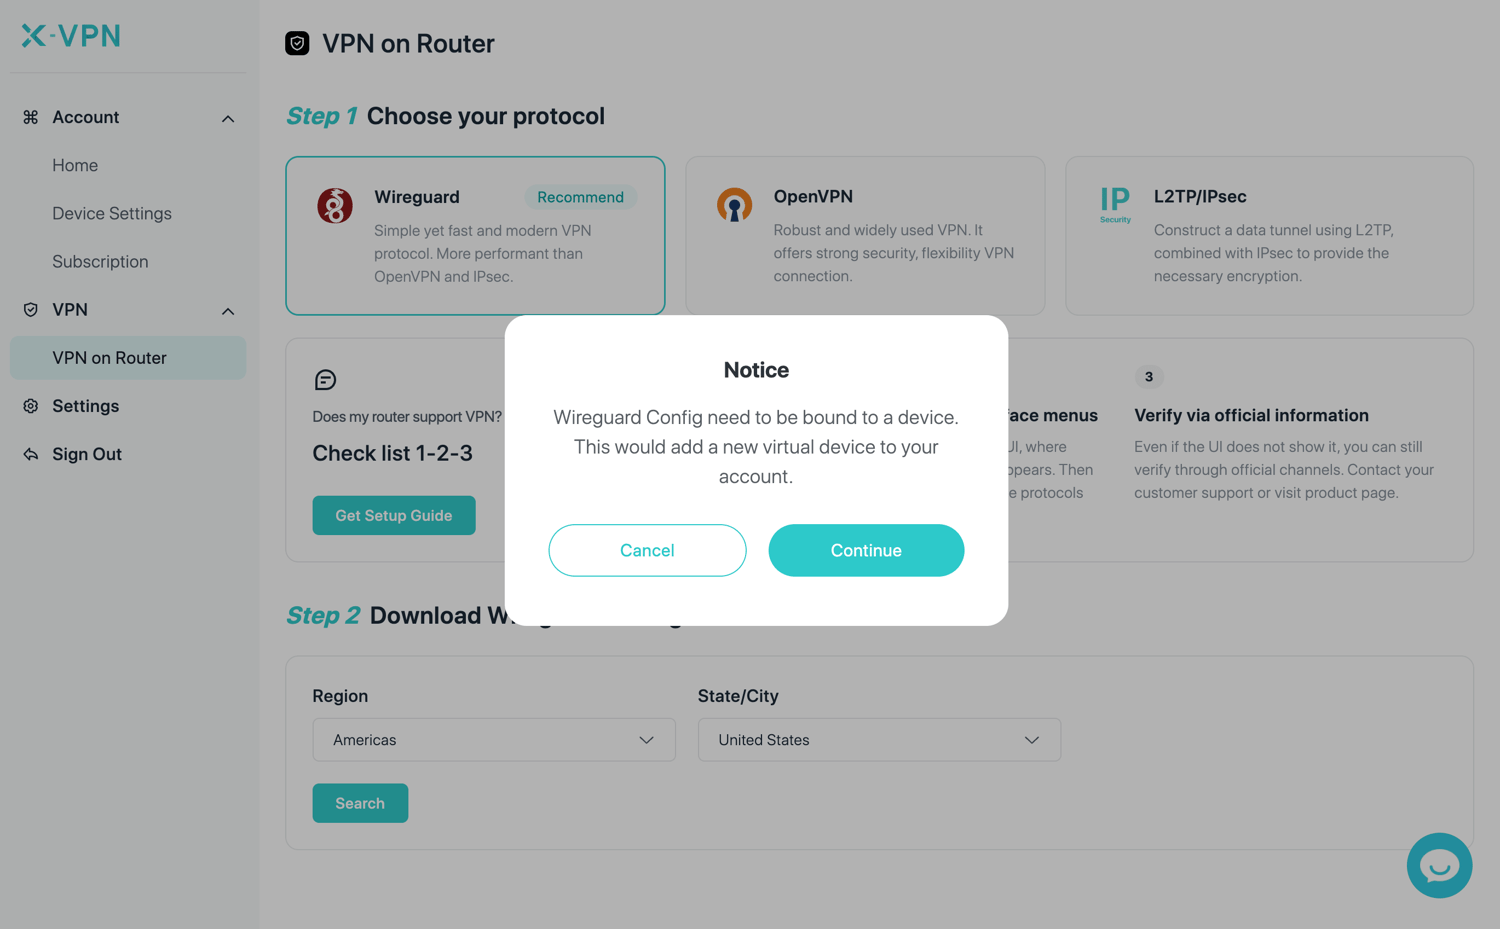
Step 2: Open the router configuration page
Go to My Account > VPN > VPN on Router, then choose WireGuard.
If you are setting up the router for the first time, you will need to register a router device to your account first. Click Continue to proceed.
Step 3: Search for a WireGuard server and download the file
In the Download WireGuard Configuration section, select your preferred Region and State/City, then click Search.
Choose the server you want from the results, then click the download button on the right to download the configuration file and save it to your folder.

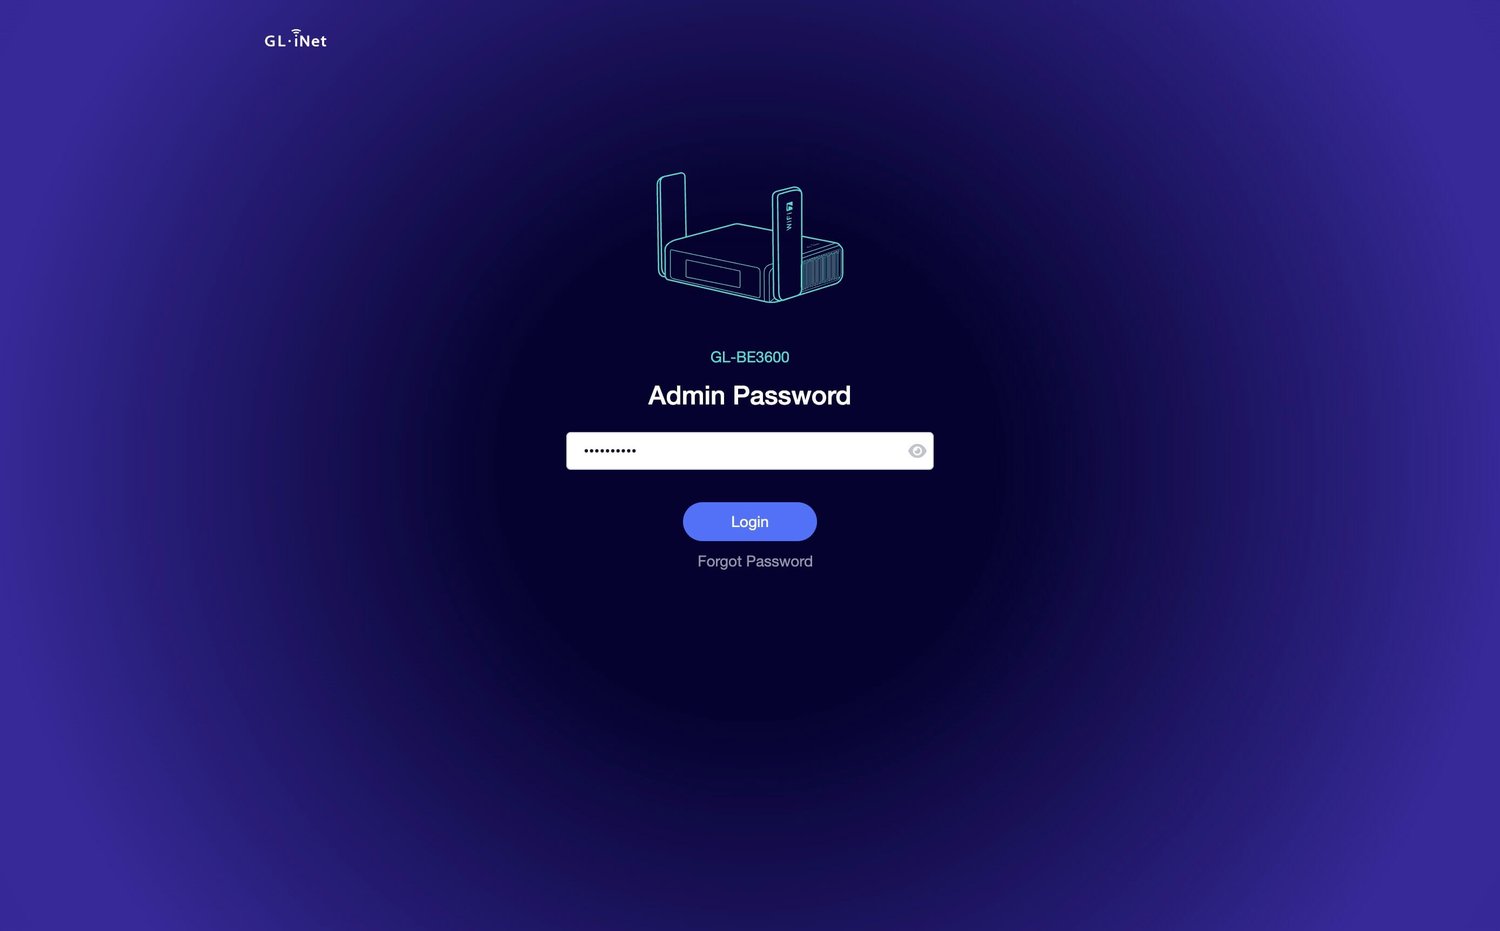
Step 4: Sign in to your GL.iNet router
Connect your device to the GL.iNet router via Wi-Fi. Then open a new tab in your browser, enter 192.168.8.1, and sign in to the GL.iNet router admin panel with your administrator password.
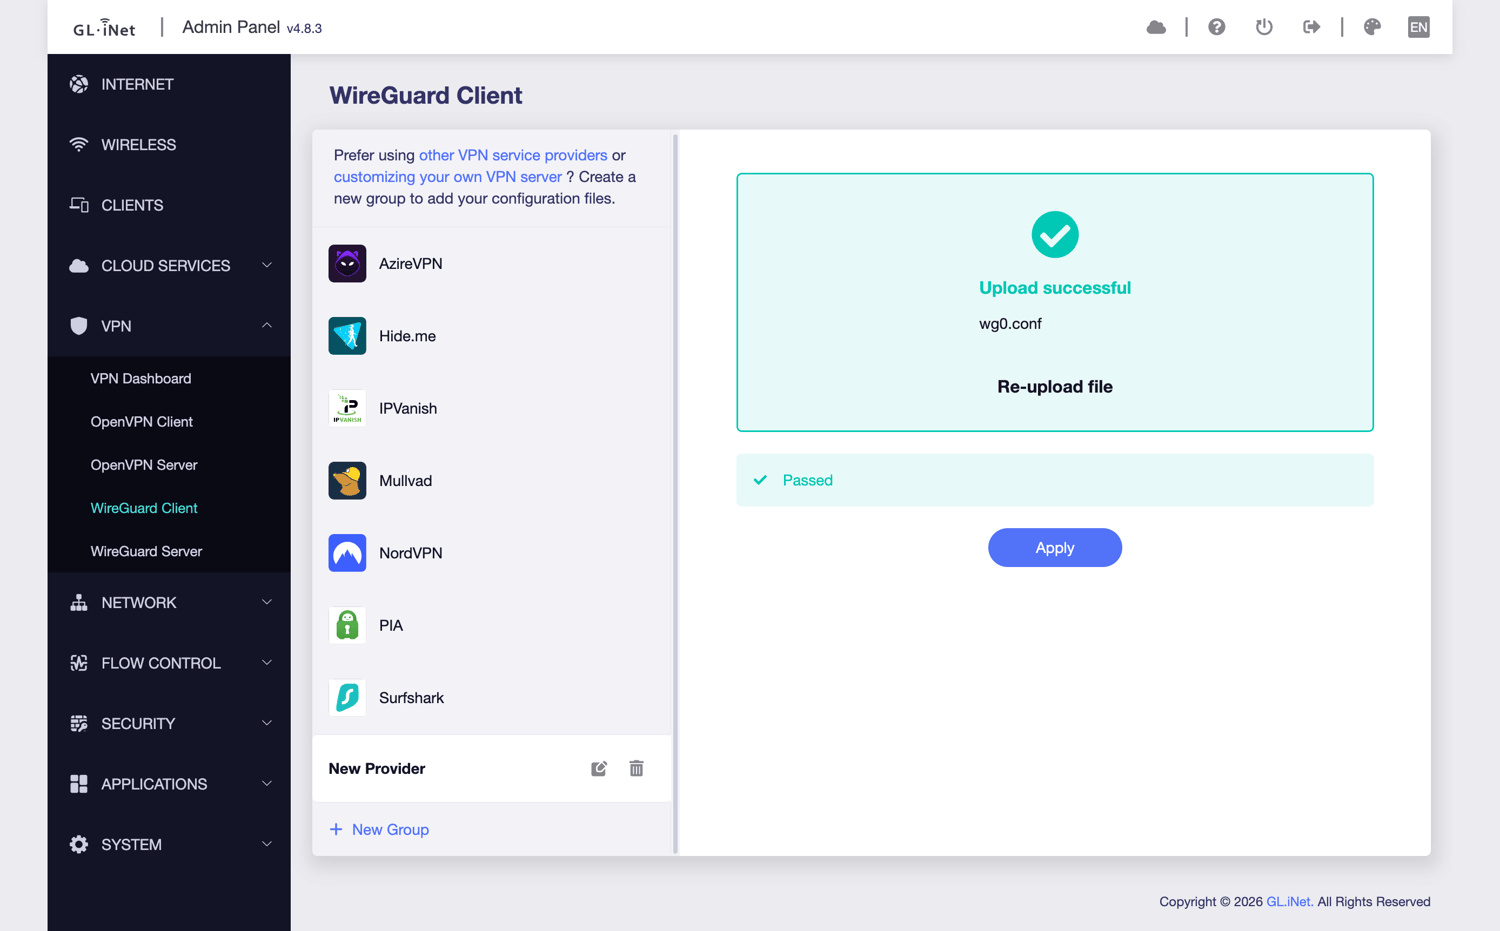
Step 5: Upload the WireGuard configuration
In the router admin panel, go to VPN > WireGuard Client. Click + New Group at the bottom, then drag and drop or click to upload the configuration file you downloaded from X-VPN.

Once the upload is complete, click Apply.
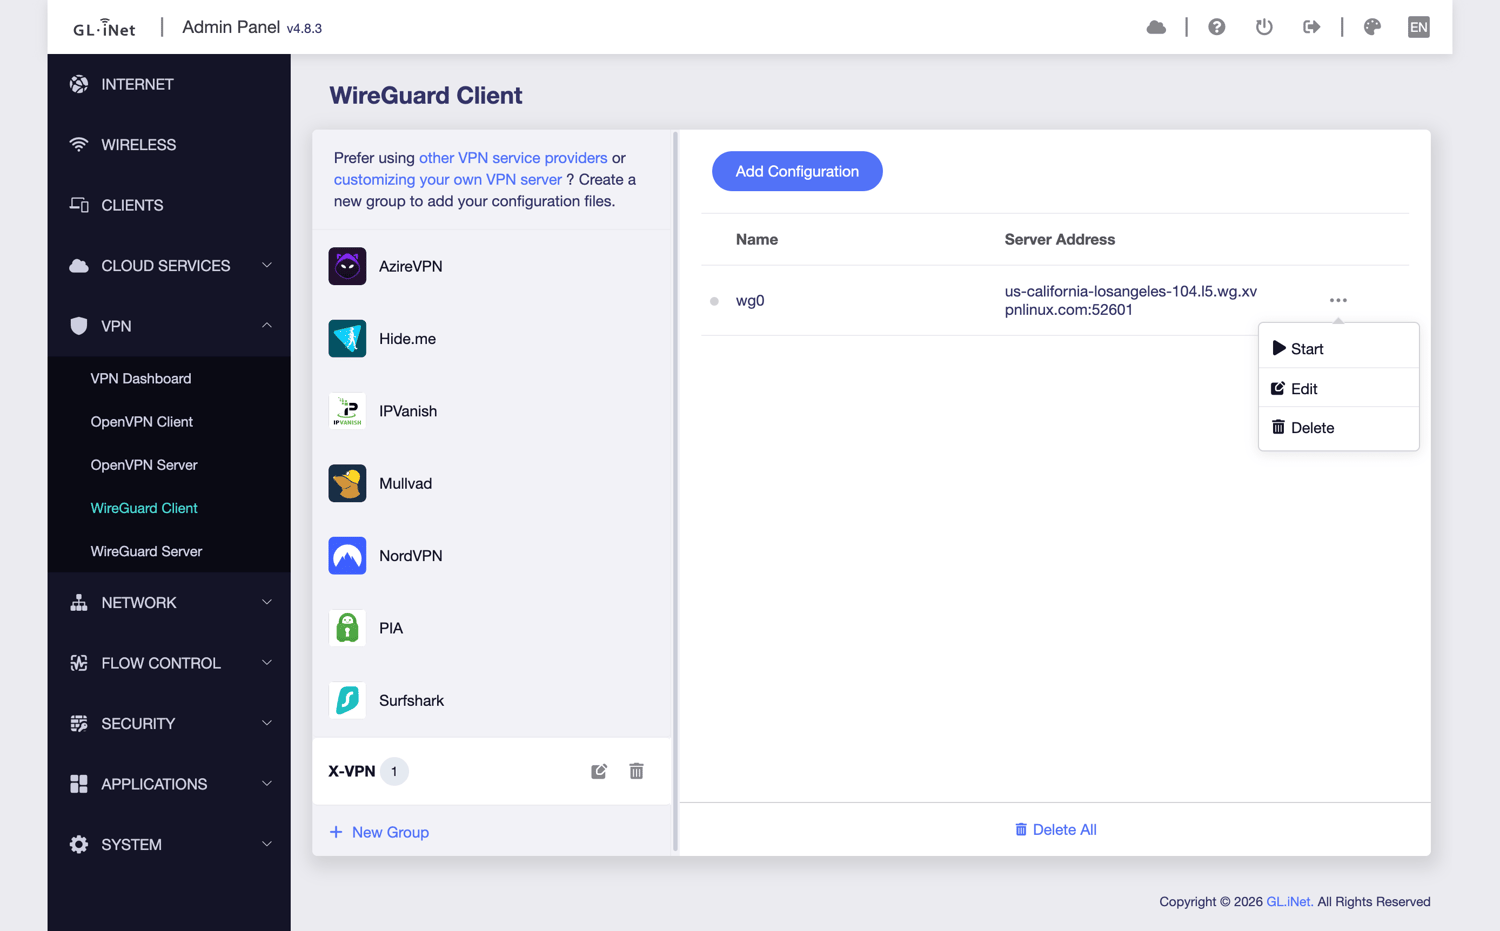
Step 6: Start the WireGuard connection
After the configuration is added successfully, click the three-dot icon on the right, then click Start to establish the connection.
Step 7: Check the VPN status
Go back to VPN > VPN Dashboard and confirm that the current VPN Client is WireGuard.
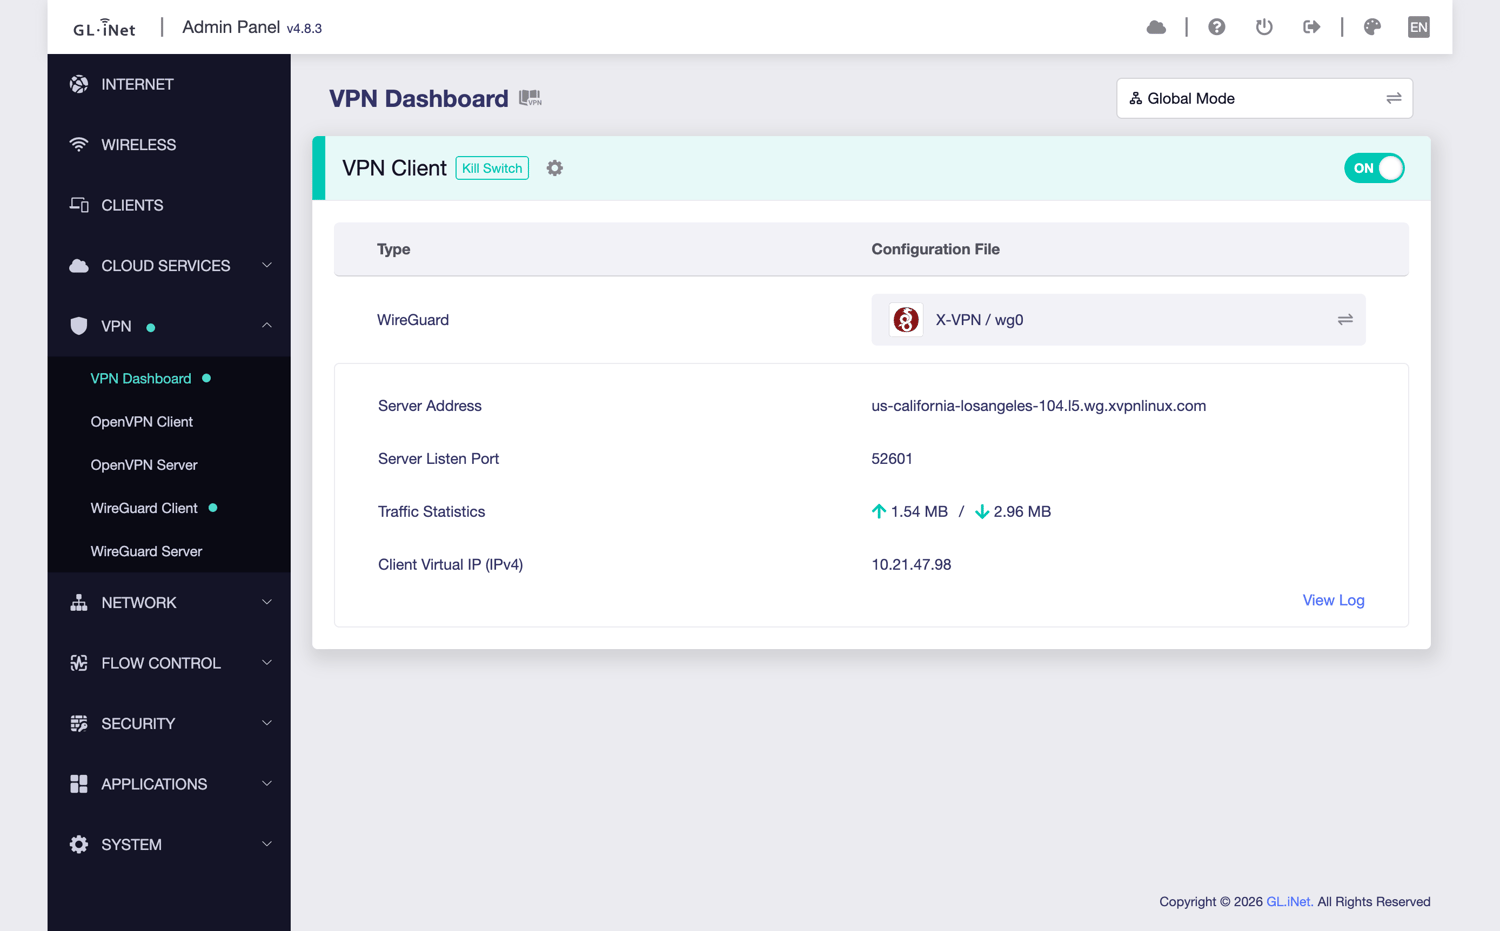
Well done! Your GL.iNet router should now be connected to X-VPN via WireGuard.
Was this article helpful?
Thanks for your feedback!
Why wasn't this article helpful?