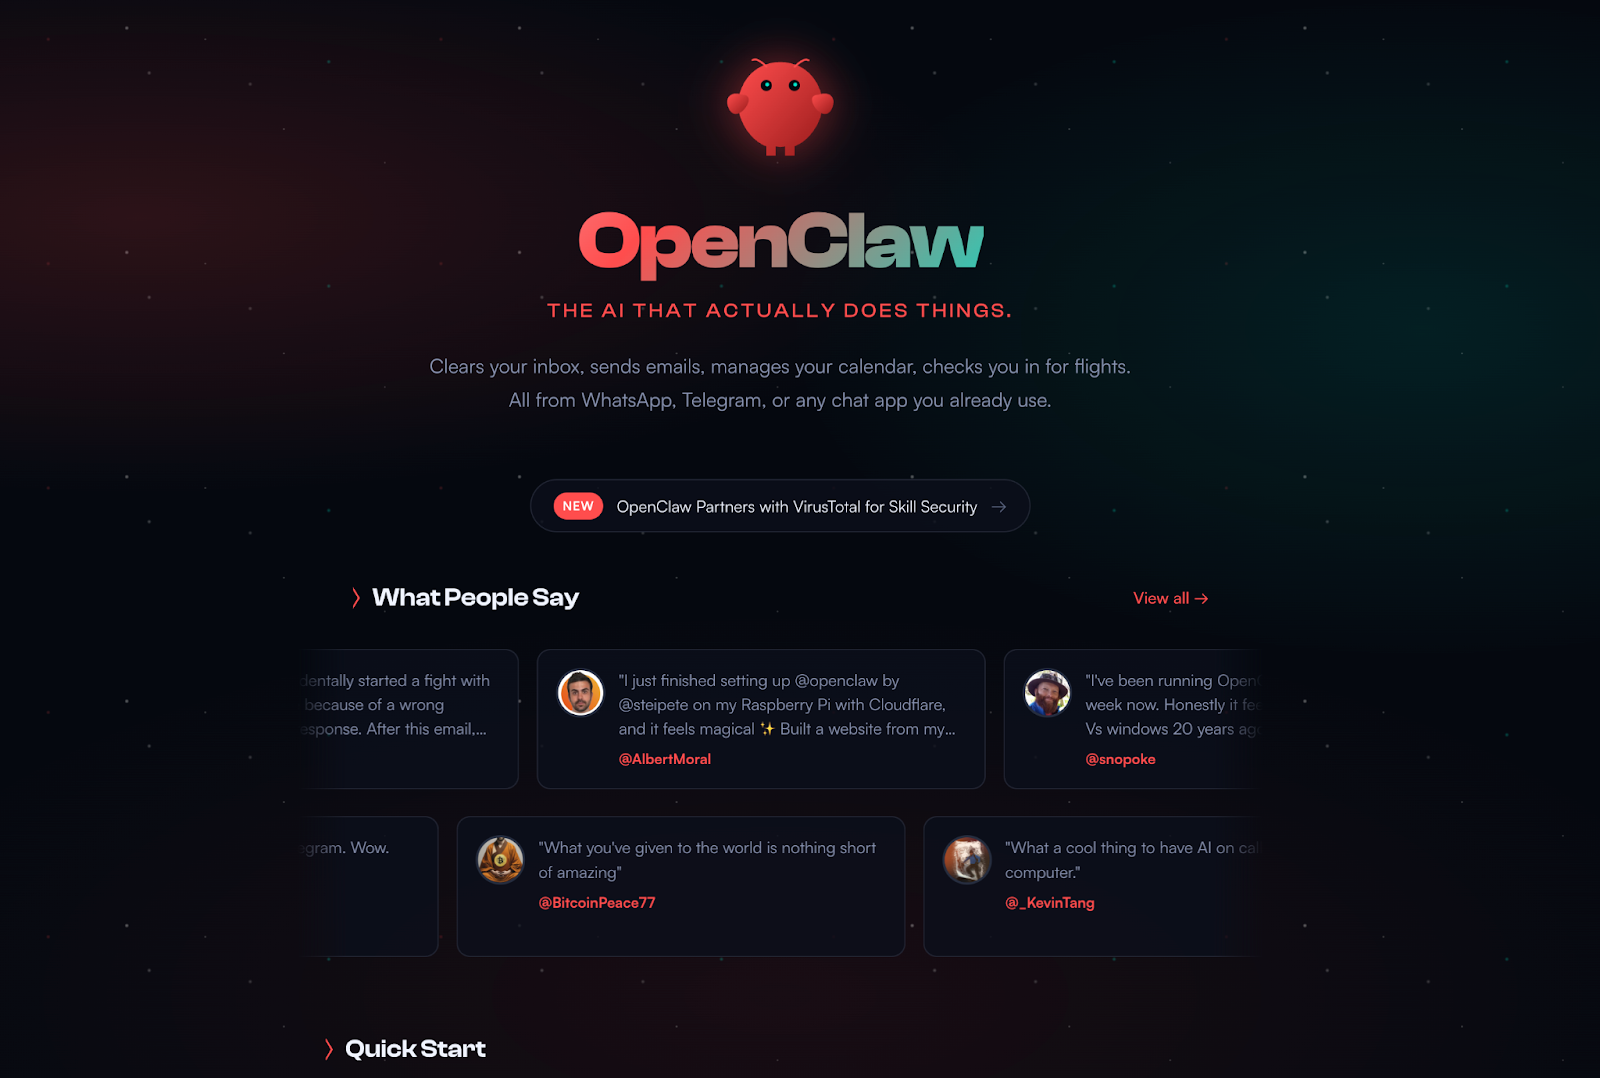
OpenClaw is one of those AI tools that makes people stop and ask, “Wait, what does this actually do?” At its core, it is an open-source AI assistant you can run yourself and connect to the apps you already use.
That simple idea is a big part of why it has been getting so much attention. It suggests a different way to use AI: not as something stuck in one chat window, but as something that can stay closer to your real work and daily life. In this guide, I’ll break down what OpenClaw is, how to use it, and why so many people are suddenly interested in it.
Table of Contents
What Is OpenClaw?
So, what is OpenClaw in simple terms? It’s a self-hosted AI agent platform. You run it on your own machine or server, connect it to an AI model, and then plug it into the channels you want to use. That is the basic idea.
A simple example makes it easier to picture. You could connect OpenClaw to Telegram or WhatsApp and talk to it there like you would talk to a normal contact. The difference is that it’s not only there to reply. OpenClaw is built to handle tasks, use tools, and stay available in the background. That is why OpenClaw feels less like a chatbot and more like an assistant you set up for yourself.
Feature | Typical AI chatbot | OpenClaw |
|---|---|---|
Interaction style | You ask, it answers | Built to carry out tasks |
Where you use it | Website or App | Your own server or machine |
How you reach it | One main interface | Connected channels like messaging apps |
Extensions | Usually limited | Skills and tools |
Data control | Managed by the service | You manage your own setup and data |
Model choice | Mostly one ecosystem | Multiple model providers, including local models |
Open-source | Usually no | Yes |
Overall feel | A chatbot you open | An assistant you keep around |
Who Is OpenClaw AI Actually For?
In practical terms, OpenClaw is for people who want AI to be part of a workflow, not just a place to ask questions. You can use it like a personal assistant that stays reachable through the apps you already use, then connect it to tools that help with messages, schedules, email, browser tasks, and other everyday jobs.
That is where it starts to feel different for beginners. You aren’t opening a separate AI tab every time you need help. You set it up once, keep it running, and then reach it more naturally through the channels that already fit into your day.
Why People Are Searching for OpenClaw Right Now
One reason is simple: OpenClaw grew very fast. It went from a side project to one of the most talked-about open-source AI projects in a short period of time. That kind of growth gets attention on its own.
The bigger reason is the idea behind it. OpenClaw suggests a more action-oriented way to use AI. Instead of stopping at conversation, it points toward AI that can stay online, work across channels, and help with tasks in a more practical way. That is a big part of why so many people are curious about it right now.
What Can OpenClaw Actually Do?
It Can Show Up in the Apps You Already Use
One of the first things that makes OpenClaw feel different is where it shows up. It’s not limited to one website or one app. You can connect it to channels like Telegram, WhatsApp, Discord, and Slack, which makes it feel much closer to everyday use. Instead of opening a separate AI tool every time, you can reach it through the places where you already chat and work.
That changes the experience more than it might sound on paper. A chatbot usually waits for you to visit it. OpenClaw can sit in the background, stay online, and become something you reach more naturally through messaging. For a lot of beginners, that is the moment when it starts to make sense.
It Can Help With Real Assistant Tasks
OpenClaw is meant to do more than reply to questions. The examples are very practical: managing messages, checking schedules, working with email, browsing the web, filling out forms, extracting data, reading and writing files, and even running shell commands when needed. In other words, it’s closer to a working assistant than a chat companion.
Here is a simple way to think about its use cases:
Use Case | What OpenClaw Can Help With |
|---|---|
Personal assistant | Messages, reminders, schedules, and daily coordination |
Web tasks | Browsing pages, filling forms, taking screenshots, exporting files |
Research and summaries | Web search, content summaries, quick information gathering |
Productivity workflows | File handling, lightweight task automation, recurring routines |
Team or community use | Discord, Slack, Telegram, iMessage and other channel-based interactions |
It Can Grow With Skills
Another reason OpenClaw feels flexible is that it can be extended with skills. Including Gmail and Google tools, browser automation, summarization, GitHub workflows, calendar tools, translation, file management, and image generation. That means you do not have to think of OpenClaw as one fixed product. You can shape it around what you actually need.
That also helps explain why people describe it as a system rather than just a chatbot. A basic setup might start with one channel and one or two useful workflows. A more advanced setup can grow into something much broader. The important part, especially for beginners, is that the value comes from real tasks. It’s not just about talking to AI but rather about making AI useful in places and routines that already matter to you.
Before You Install OpenClaw
Before you install anything, it helps to know one simple thing: there is no single “normal” way to start with OpenClaw.
That is where many beginners get confused. They see commands, setup guides, and people talking about Mac mini, terminals, and servers, and it all starts to sound more complicated than it really is. In practice, the first question is much simpler: what kind of setup are you actually trying to use?
You do not need a Mac just to use OpenClaw. But it isn’t equally simple on every system. On macOS, local installation is usually the more natural path. On Windows, many guides recommend going through WSL2 first instead of treating native Windows as the easiest option. That is one reason the setup can feel more intimidating for non-technical users at the beginning.
A few technical words also tend to make OpenClaw sound scarier than it is.
Another thing that confuses beginners is how often OpenClaw gets mentioned alongside the Mac mini. That does not mean OpenClaw only works on Apple hardware. The real reason is more practical. Some of the most appealing Apple-style use cases, such as iMessage integration, require a Mac that stays on, and some macOS-native automations depend on Apple-specific tools. Because of that, many users end up treating a Mac mini like a small always-on home machine for their assistant.
So before worrying about installation commands, it’s better to understand the three broad paths beginners usually end up choosing from: the easiest way to try OpenClaw, the local path for people who want more control, and the Apple-style path for people who want deeper Mac integrations. If some of those ideas still sound unfamiliar, that is completely fine. In the next section, I’ll walk through those setup paths one by one in much simpler terms.
If you’d rather learn OpenClaw in video form before going further, you can also watch X-VPN’s YouTube walkthrough here: What Is OpenClaw? How It Works & Why Beginners Should Be Careful
Which OpenClaw Setup Path Is Best for Beginners?
Hosted or One-Click Option
If your goal is simply to see what OpenClaw feels like, the easiest path usually isn’t local installation. A hosted or one-click option makes more sense because it removes most of the technical friction.
The trade-off is control. A path like this is great for quickly trying OpenClaw, but it isn’t the best fit if you care a lot about deep customization, full data control, or managing the environment yourself. That trade-off is worth saying clearly, because “easy to start” and “fully under your control” aren’t the same thing.
Local or Self-Managed Setup
If you want OpenClaw to live on your own machine or server, then a local or self-managed setup is the more natural path. The local npm installation is the standard route for developers and people who want full control, with Node.js as a requirement and macOS or Linux as the more natural environments. For Windows users, going through WSL2 rather than assuming native Windows will be the smoothest path.
There is also a middle ground here: Docker. It is still self-managed, but it’s often better for people who want a cleaner, more portable setup or who plan to keep OpenClaw running on a server.
Cloud Deployment
For many beginners, the most practical option is a one-click cloud deployment. The term sounds more technical than it really is. In plain English, it usually means a cloud platform has already prepared an OpenClaw image or template for you, so you do not have to install every piece yourself from scratch. You rent the machine, open the template, follow a few guided steps, and start from there. This is the mainstream beginner route for many users because it reduces setup complexity a lot.
Apple-Style Integrations
This is the path that explains all the Mac mini talk. You do not need a Mac just to use OpenClaw. But if what you really want is deeper Apple-style behavior, especially things like iMessage integration or macOS-native automation, then a Mac becomes much more relevant. It’s clear that iMessage support relies on BlueBubbles and requires a Mac that stays on. It also notes that some Apple-specific capabilities, such as Apple Notes-related workflows, depend on macOS-native tooling.
That is why some people end up buying a Mac mini. Not because OpenClaw only works there, but because a small always-on Mac is a good match for a personal AI assistant at home. It’s less about prestige hardware and more about having a quiet machine that can stay online and handle Mac-only integrations when needed. This also lines up with the official docs, which still treat macOS as a first-class environment and point Windows users toward WSL2 for the smoother path.
How to Install OpenClaw Step by Step
The Easiest First Route
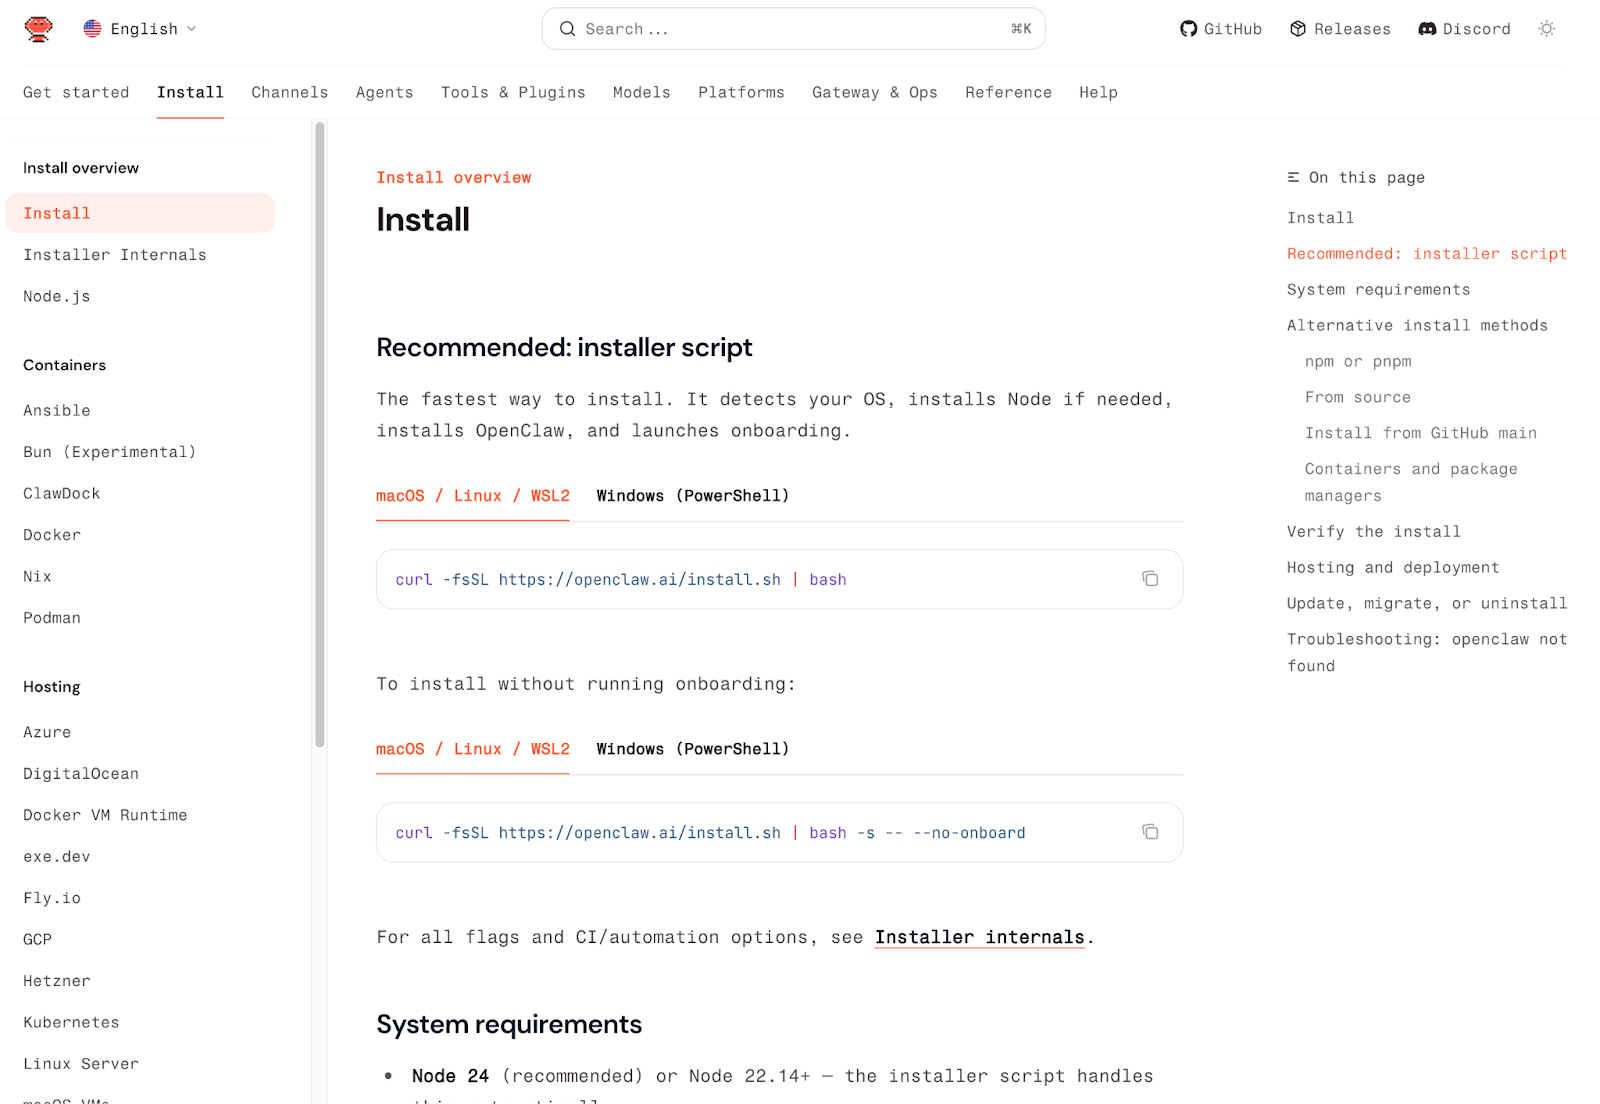
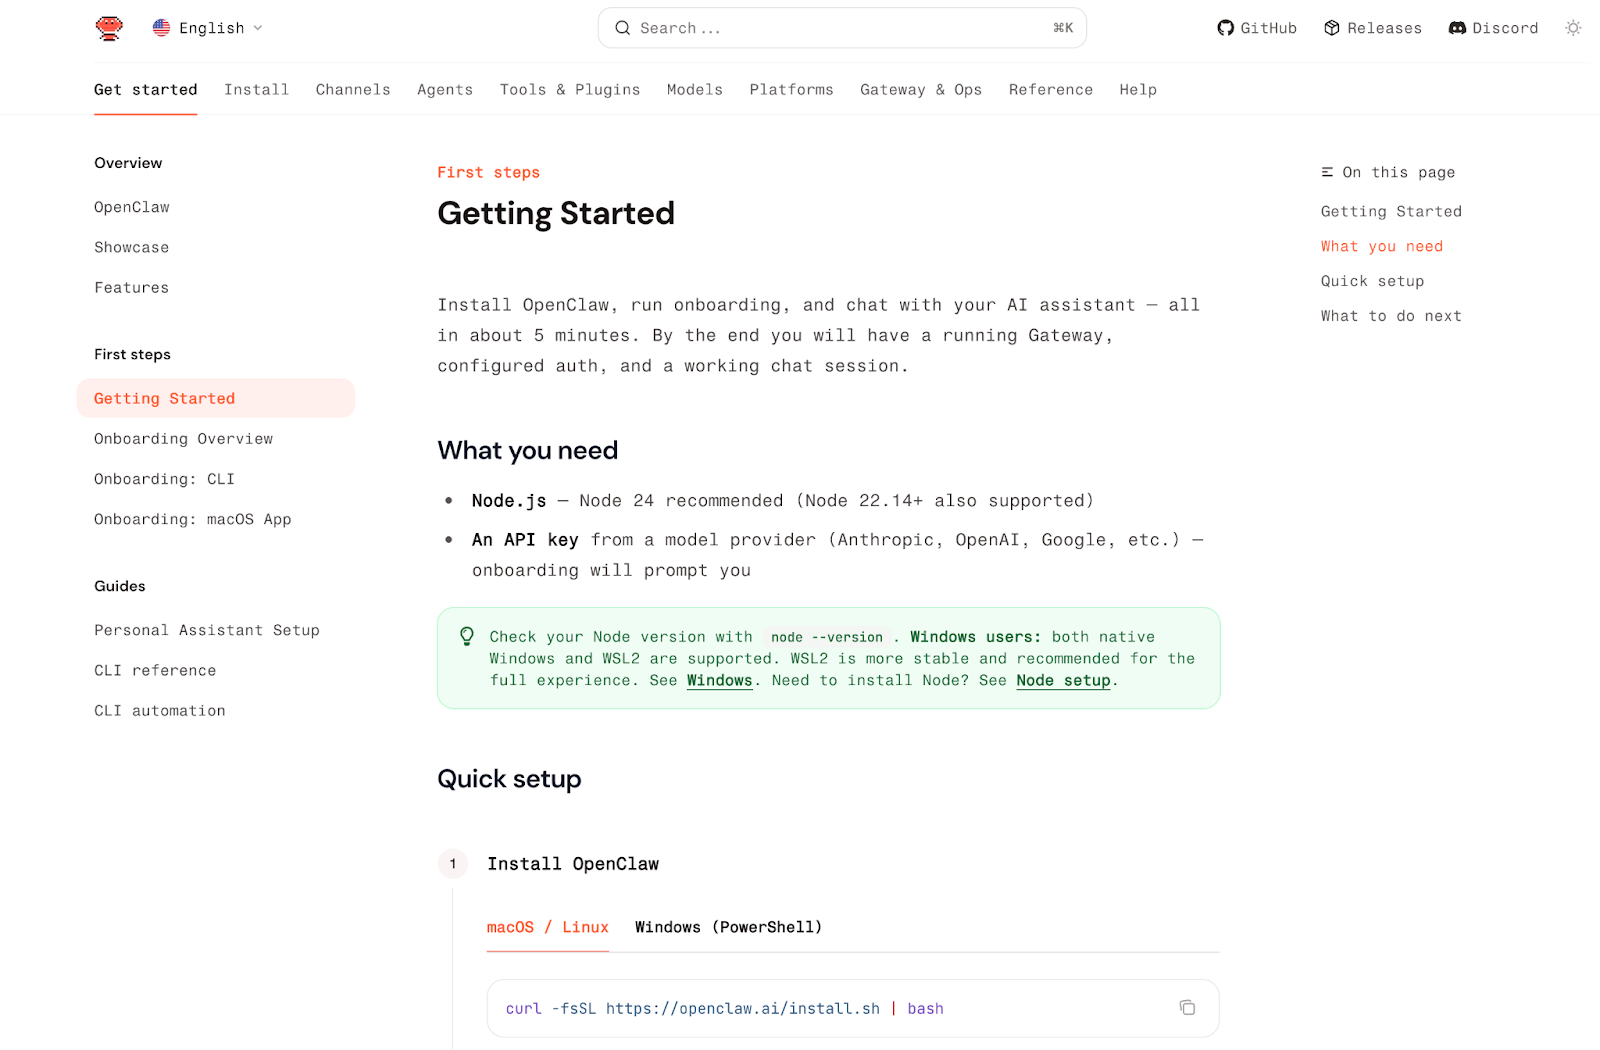
If you are completely new to this, the best place to start is the official installer script. It is the fastest path right now, and it’s built for exactly the kind of person who does not want to manage every dependency by hand. According to the current docs, the script detects your operating system, installs Node if needed, installs OpenClaw, and then launches onboarding for you.
For most beginners, that matters more than learning every install method. You do not need to start with Docker, build from source, or tune anything advanced. The goal is much smaller: get OpenClaw installed, finish onboarding, open the dashboard, and make sure one working chat session appears. The official Getting Started guide says you can reach that point in about five minutes, though that may be a little optimistic if the process feels completely new.
Step 1: Install OpenClaw
Before you paste any command, open the right app for your system.
Once that window is open, you will see a place where you can type. That is where the install command goes.
If you are on macOS or Linux, paste this into Terminal:
curl -fsSL https://openclaw.ai/install.sh | bashIf you are on Windows, paste this into PowerShell:
iwr -useb https://openclaw.ai/install.ps1 | iexYou only need to use one of these commands, not both. Pick the one that matches your system.
The reason this is the easiest starting point is that the installer is meant to handle the annoying parts for you. Local installation requires Node.js, so macOS users may need Xcode Command Line Tools, and Windows users are still strongly encouraged to go through WSL2 for a smoother experience. The script-based install is the simpler path because it reduces how much you need to manage manually on day one.So the real goal of this step is very simple: open the correct app, paste the correct command, press Enter, and wait for the installer to finish.
Step 2: Run Onboarding
Once the installer finishes, stay in the same Terminal, PowerShell, or Ubuntu window. That is where you will run the next command, too.
Now type this command and press Enter:
openclaw onboard --install-daemonThis is the guided setup that helps you turn a fresh OpenClaw install into something usable. Instead of making you edit configuration files by hand right away, it walks you through the important basics, such as choosing a model, adding your API key, and deciding whether you want to connect a chat channel now or later.
Step 3: Keep Your Choices Simple
When onboarding starts, keep things simple.
If you see QuickStart and Advanced, choose QuickStart. It’s the easier option and works well for most beginners.
You will usually be asked to choose a model provider and add an API key. This just means picking the AI service OpenClaw will use and pasting in the key that lets it access that service. You only need one provider to get started.
After that, you may see options for the workspace, Gateway, and channels. For your first setup, the safest move is to keep the default workspace and Gateway settings. If OpenClaw asks whether you want to connect a channel right away, you can skip that for now. You can test everything in the browser dashboard first.
That is enough for day one. The goal here is not to make the perfect setup, but to get OpenClaw running and ready for your first message.
Step 4: Open the Dashboard and Send Your First Message
Once onboarding is done, stay in the same Terminal, PowerShell, or Ubuntu window.
Now type this command and press Enter:
openclaw dashboardThis opens the OpenClaw dashboard in your browser, finds the chat box, and types a simple message like: Hi, what can you do?
Then wait for a reply.
Step 5: If Something Seems Wrong, Check It in This Order
If OpenClaw does not work right away, do not troubleshoot everything at once. Start with the symptom you see first, then follow the matching fix below. You can use these commands in the same Terminal, PowerShell, or Ubuntu window:
openclaw --versionopenclaw doctoropenclaw gateway statusopenclaw dashboardopenclaw onboard --install-daemonopenclaw logs --follow| Command | What you see | What to do | What it probably means | Easiest next fix |
openclaw --version | shows a version number | / | OpenClaw is installed | Move to the next check |
| says command not found | Close the window, open a new Terminal / PowerShell / Ubuntu window, and run it again | OpenClaw is not installed properly yet, or your system cannot see the command | If it still fails, reinstall OpenClaw | |
openclaw gateway status | shows Runtime: running and RPC probe: ok | / | The core service is running | Move on to the dashboard check |
| does not show those healthy signals | Run openclaw doctor | The Gateway or setup is not healthy yet | Fix what doctor reports, then check Gateway status again | |
openclaw dashboard | opens in the browser | / | The dashboard is reachable | Send a simple message like “Hi” |
| The dashboard does not open | Run openclaw dashboard again from the same window | The browser did not launch correctly, or the dashboard was not reopened | Try the command again before changing anything else | |
Dashboard chat | The dashboard opens, but asks for auth | Look for your Gateway token and paste it into the Control UI | The dashboard can reach OpenClaw, but it does not have the token it needs | Use the token from your Gateway setup and try again |
| The dashboard opens, but your message gets no reply | Run onboarding again | OpenClaw is installed, but the model setup or API key is probably incomplete | Run openclaw onboard –install-daemon again and choose the simple options |
That is enough for a first round of troubleshooting. You do not need to understand the deeper system yet. You only need to identify which step failed first and fix that one before moving on.
Step 6: Connect Your First Channel
At this point, do not try to connect every app at once.
You only need one channel that feels easy and familiar.
A simple beginner rule is this:
If you want… | Start with… | Why |
|---|---|---|
the easiest first setup | Telegram | It is the simplest beginner channel and does not need a public IP or reverse proxy |
a good second option | Discord | The setup is still manageable, but it takes a few more permissions and steps |
something to try later | WhatsApp or Slack | Both are useful, but they aren’t the easiest place to begin |
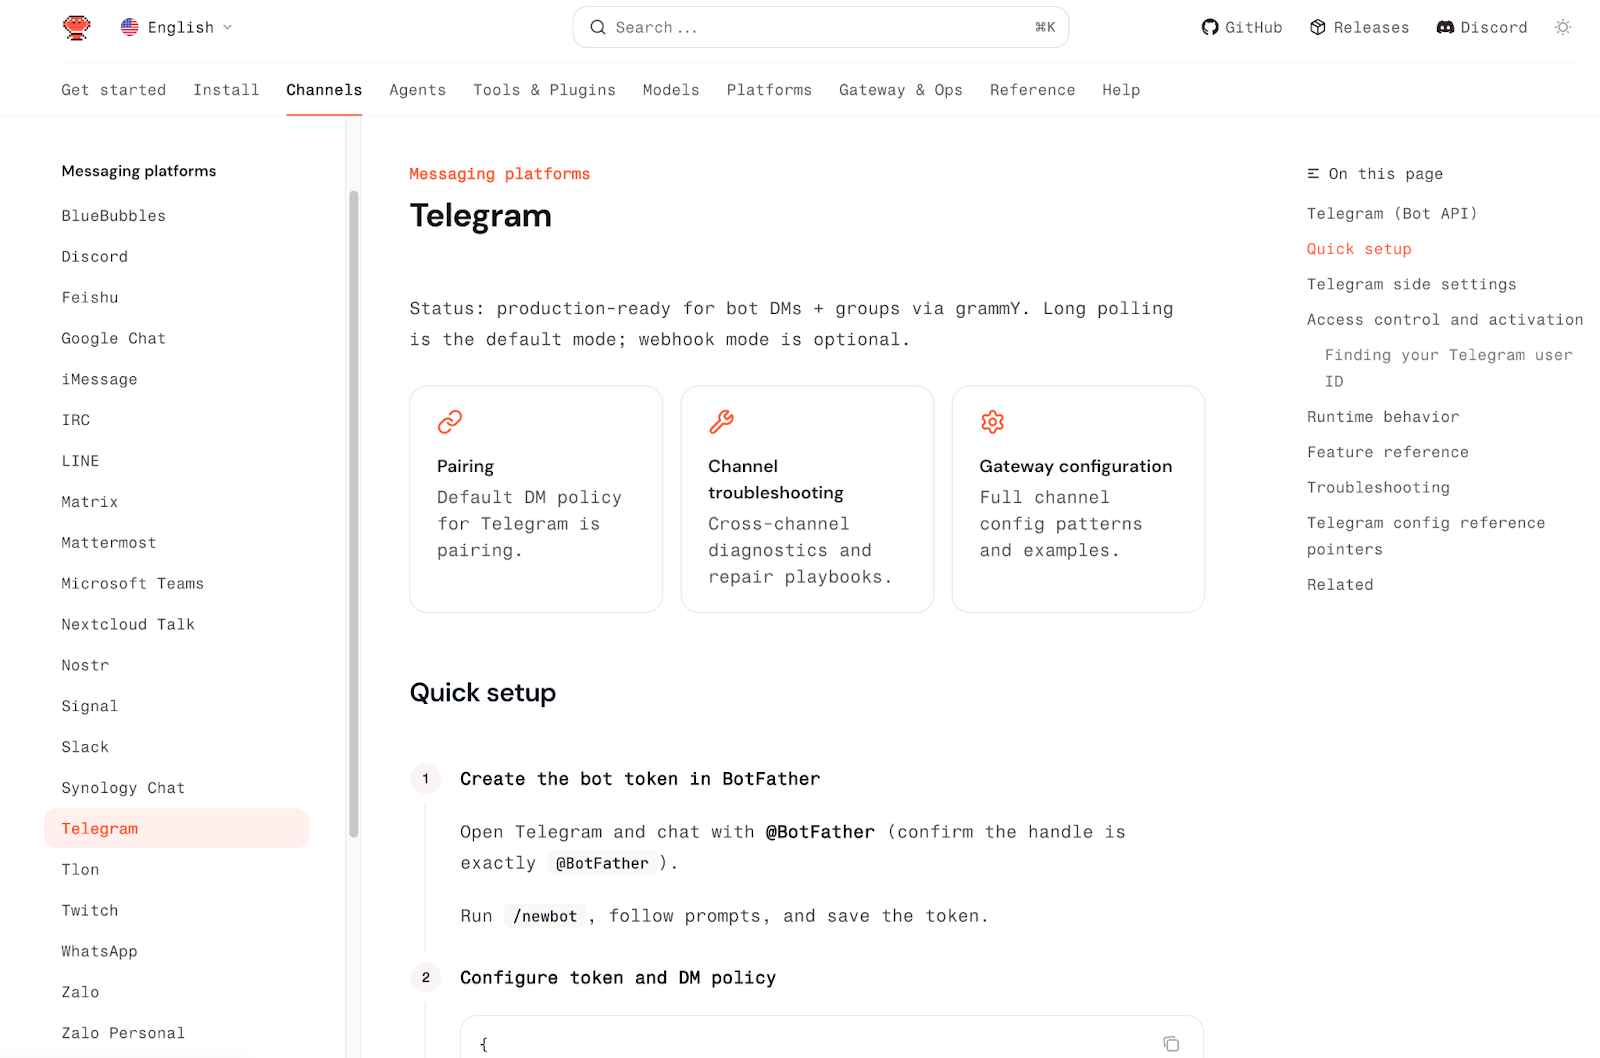
The Best First Choice: Telegram
If you just want the fastest first channel, start with Telegram.
The basic flow is simple:
- 1Open Telegram and search for @BotFather
- 2Create a new bot
- 3Copy the bot token
- 4Add that token to OpenClaw
- 5Restart the Gateway
- 6Send your bot a message and complete pairing
Telegram is a strong first choice because it’s lightweight, beginner-friendly, and does not need extra network setup just to get your first chat working.
A Good Next Step: Discord
If you already spend more time in Discord, it’s a good second option.
The basic flow looks like this:
- 1Go to the Discord Developer Portal
- 2Create a new application
- 3Create a bot and copy the bot token
- 4Turn on the permissions the bot needs
- 5Add the bot to your server
- 6Connect it to OpenClaw and complete pairing
Discord is still a reasonable beginner channel, but it’s a little more involved than Telegram because you have to deal with bot permissions and server settings.
OpenClaw Skills: What They Are and Which Ones Beginners Actually Need
OpenClaw skills are what make the system feel useful instead of just impressive. In simple terms, a skill gives OpenClaw an extra ability. It might help with browser tasks, web search, summaries, file handling, calendars, or developer workflows. Some skills are built in, while others can be added later through ClawHub, OpenClaw’s public skill registry.
For beginners, the most important thing to understand is that more skills do not automatically mean a better setup. Each skill adds more context and more moving parts. That is why a small, useful set is usually better than installing everything that looks interesting. A simple rule is to start with three to five skills you actually expect to use, then expand later.
A good beginner set usually looks like this:
- 1Agent Browserfor logging in and handling basic browser tasks
- 2Web Searchfor pulling in live information
- 3Summarizefor turning long pages/emails/videos into something shorter
- 4Calendarif you want to schedule support
- 5File Managerif you want help with local files
- 6GitHubif you are using OpenClaw for developer workflows
Those are useful because they solve obvious day-one problems. They also show what OpenClaw is good at: not just chatting, but combining tools with action.
ClawHub can make the ecosystem look huge, and it is huge. But that is exactly why beginners should be careful. The skills marketplace is powerful, but quality is uneven, and you should not blindly install random third-party skills. The safest habit is to start with built-in skills, then review the source code before adding anything extra.
Is OpenClaw Safe? What You Should Know Before Using It
OpenClaw is not the kind of tool you should treat like a harmless chatbot tab. Once it can read files, connect to messaging channels, use browser automation, and stay online in the background, it starts to behave more like a small personal system than a simple chat app. That is why the real question is not just whether OpenClaw is safe, but how much trust and access you are giving it.
To OpenClaw’s credit, it does include some important safety controls. Unknown users can be blocked behind DM pairing, group sessions can stay isolated from your private memory, and newer versions require explicit Gateway authentication instead of letting the Gateway run unauthenticated by default. In other words, the project is not designed around blind trust.
But that does not mean you should trust it completely. OpenClaw creator Peter Steinberger has been unusually direct about this: prompt injection is still not solved, and there are real risks. The history of the project makes that clear. One of the biggest examples was ClawHavoc, a large supply-chain attack that flooded ClawHub with malicious skills. The incident eventually involved more than 800 malicious skills at peak and affected thousands of devices. Some of those skills were designed not just to steal credentials, but to tamper with long-term memory files such as SOUL.md and MEMORY.md, which is exactly the kind of attack that makes an AI assistant feel dangerous instead of helpful.
Another major example was CVE-2026-25253, a high-severity remote code execution vulnerability tied to exposed, unauthenticated Gateways. More than 30,000 public instances were found without authentication, and these exposed setups could allow outsiders to connect, burn through API usage, read private data, or even execute commands remotely in vulnerable instances. That is not a theoretical risk. It’s the kind of thing that happens when people treat OpenClaw like a toy instead of infrastructure.
So is OpenClaw safe? It can be safe enough for careful users, but it’s not a platform you should trust by default. A good beginner rule is to keep the Gateway private, turn on authentication, stay updated, review third-party skills before installing them, and avoid giving OpenClaw your most sensitive accounts on day one. If a skill can touch your files, messages, email, browser session, or system tools, you should treat it like trusted code with real privileges, because that is what it is.

Is OpenClaw Worth Trying?
If you are curious about AI agents and do not mind a little setup, OpenClaw is absolutely worth trying. It is not the simplest AI tool, and it’s definitely not something you should trust blindly, but that is also what makes it interesting. It gives you more control, more flexibility, and a better sense of what an always-available AI assistant can actually look like.
For beginners, the smartest approach is to start small. Get one setup working, connect one channel, and treat security and cost seriously from the beginning. If that sounds appealing rather than annoying, OpenClaw is probably the kind of tool you will enjoy exploring.
FAQ
Is OpenClaw free to use?
OpenClaw itself is free and open-source. What usually costs money is the model you connect to it, and sometimes the machine or server you run it on.
Do I need to know how to code to use OpenClaw?
Not necessarily. A beginner can get pretty far by following the guided setup and sticking to a simple first configuration. But if you want to customize channels, skills, or workflows, some technical comfort definitely helps.
Do I need a Mac mini to run OpenClaw?
No. OpenClaw does not require a Mac mini. People talk about the Mac mini so much because it’s a convenient, always-on machine for Apple-heavy setups, especially if you want things like iMessage or other macOS-only automations. In other words, a Mac mini is a popular choice, not a requirement.
Can I use OpenClaw on Windows?
Yes, but many users prefer running it through WSL2 rather than treating native Windows as the easiest path. macOS and Linux usually feel more straightforward for local setup.
Which channel should beginners start with?
Telegram is usually the easiest place to start. It’s simple to set up and does not need the same level of extra configuration that some other channels do. Discord is also a reasonable second step once you are comfortable.
Is OpenClaw safe?
It can be safe enough for careful users, but it isn’t something you should trust blindly. OpenClaw has already been linked to real security problems, including a high-severity remote-code-execution bug and the ClawHavoc malicious skills incident. That is why it’s smart to keep it updated, enable authentication, and be very careful with third-party skills.
How much does OpenClaw usually cost per month?
That depends on how you run it and which model you use. A lightweight setup can stay fairly cheap, while a poorly controlled setup can get expensive fast. The biggest cost is usually model usage, not the software itself.
Can I use local models with OpenClaw?
Yes. OpenClaw can work with local model setups such as Ollama, which is one reason privacy-focused users are interested in it. The trade-off is that local performance depends heavily on your hardware.
Can OpenClaw and Claude Code work together?
Yes. A lot of people treat them as complementary tools rather than direct alternatives. OpenClaw is stronger for always-on, multi-channel assistant workflows, while Claude Code is more focused on coding work.